-
 C-30 frt end rebuild
This is basically an up-date of my previous thread, "spring removal"
Once the front-end O/H was completed, I wanted to get some photos together on the "Bucket", and it took a few tries over the past couple weeks, to accomplish it. A lot of these forums are about photos, so I thought I'ld share a few, for the 2 people that may be slightly interested. I don't know the protocol for posting pics, don't know how many is "too" many, and just don't have the time to do it all at once. So what I'll do is describe a short paragraph, then put up 2 or 3 pics, and see how it goes from there.
Here's a brief history, and a pic of the truck. 83 C-30 cab and chassis with a modified P/U bed installed, 6.2, and a 4 speed along with a Holmes 440 winch.

Old habits, die hard.
-
For some reason, I wasn't able to continue under the photo, so I'll have to take that into consideration while re posting.
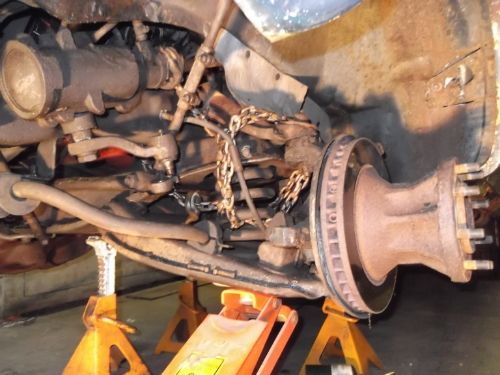
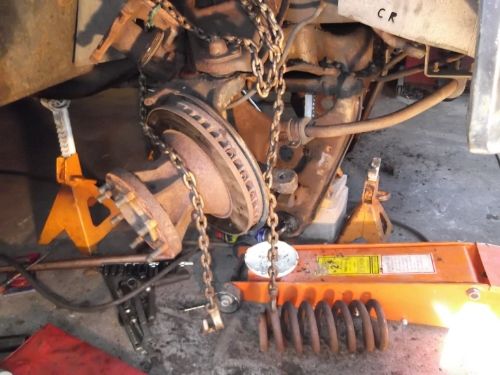
Anyway, after about 20 yrs of ownership, (and 50K miles accumulated totaling 100K on top of the initial 50K when purchased @ 9 yrs old), the frt-end end became sloppy in a few areas. Because I own the truck, and it owes me nothing, I've decided to save it, and begin "another" resto-clean-up(?). The frt-end being the 1st area of attack. To be honest, my experience has only been on passenger car frt-ends, not a truck of this size. I was a bit apprehensive, and intimidated by the bulkier sizes, but loaded with some TDP advice, I dove in. The next few pics will be of the dis-assembly. Hopefully they'll take. I've tried downsizing at Phtobucket, but it just doesn't seem to work anymore
Old habits, die hard.
-
-

Thanks for the update! And yes, pics are always appreciated (by both of us). Pictures and attachments here are fairly simple and straight forward. As a member here, you already have space available in our Photo Album (the link is at the top of every TDP forum page). You can upload your photos there, then link them into posts. You'll have 3 sizes to choose from, Thumbnail, Medium and Full/Large. Just give a holler if you want to use this feature and need help with it.
-
-
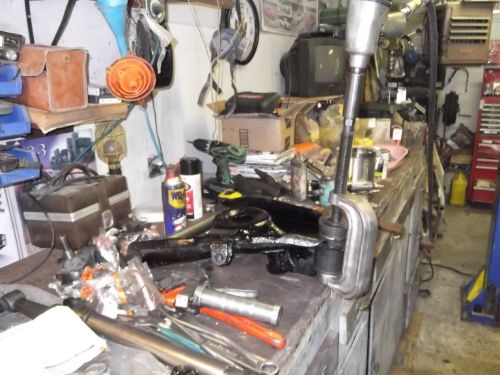
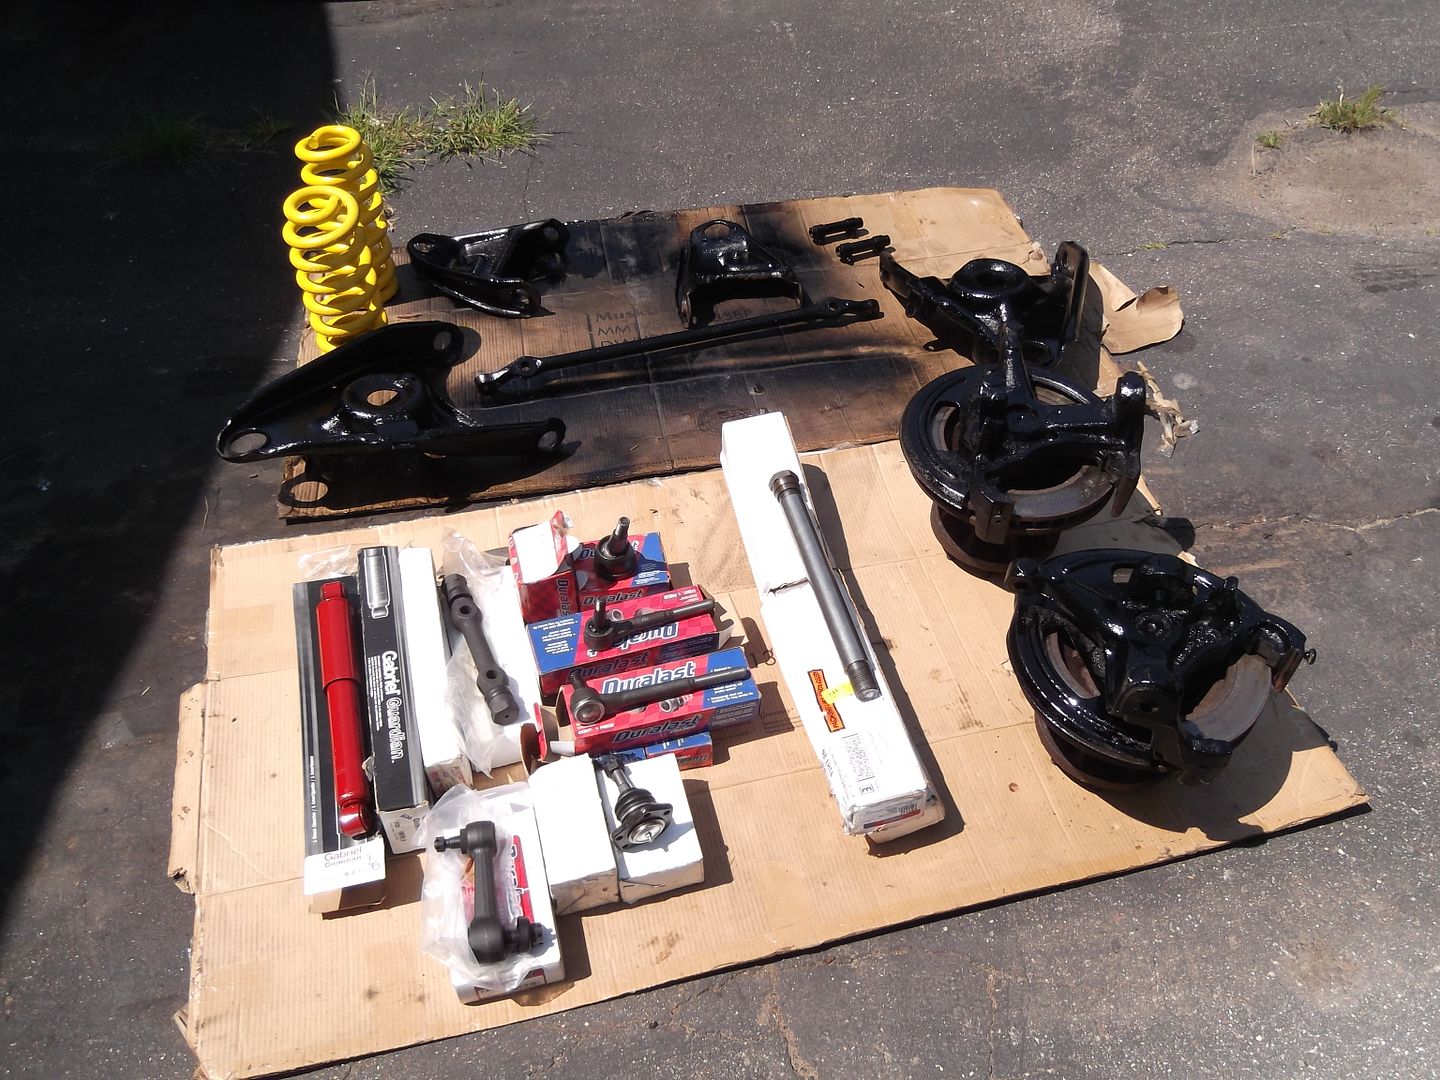
Once the arms were stripped, and all the greasy parts were cleaned, I put them out back and sandblasted the rust off them. Wanted to use some paint with some Umff to it, so I bought a quart of chassis black enamel, (already reduced). I painted everything the next morning, (Sun), cause I just flat ran out of time Sat. nite. Bad move painting in the morning, and planning on assy the same day. Paint was still tackey, and as hard to work with when it was greasy.
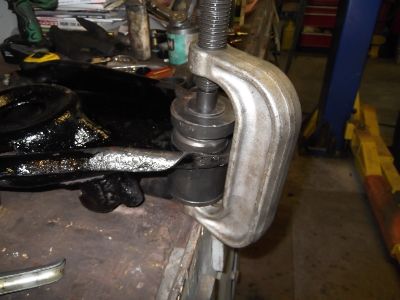
Because I didn't have a good way of pressing the lower ball joints in the press, had to resort to the OTC portable ball joint installer. needed a little height for the assy, but at least I didn't need to conjure up a jig for the press.
Last edited by joeq; 08-23-2014 at 16:05.
Old habits, die hard.
-
I became a little worried when installing the control arm bushing kits, because they're (the bushings) not only threaded on the ID to the new shaft, but also threaded on the OD into the control arms. Fortunately the threads in the control arm weren't rotted out, and they went in fine. I imagine this area can be troublesome at times.
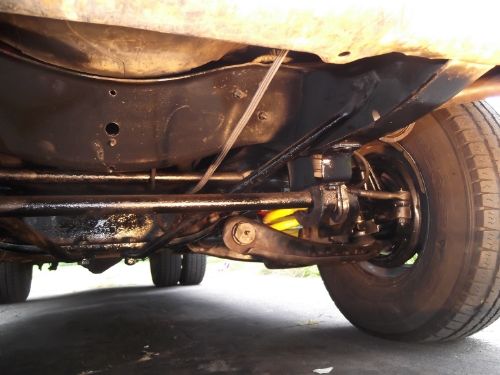
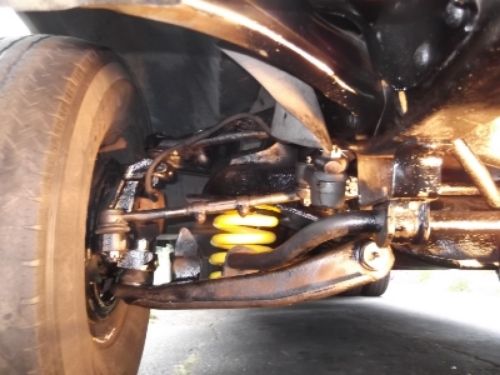
Once I bolted them back to the crossmember, it was tricky (1 person) trying to keep the top and bottom of the springs in there pockets, when raising the lower A-frame up into place with the jack. Helped to have my daughter work the jack on the 2nd side, while I held the spring in place.
I will admit, the area that I invented the "newest" 4 letter words was trying to slide that stupid wedge lock and spring assy for the brake caliper on 1 side. Just couldn't get it lined up. Must've spent almost 20 mins on this menial task. (Very frustrating).
I also measured the distances between the inner and outer tie rod centers at diss assembly, and installed the new ones to this dimension, to keep it close. Guess I didn't do that good a job, cause my steering wheel is off about 15*. I also replaced the upper control arm shims to their original position, but now my caster must be off a bit, cause it steers like it's on ice. Doesn't matter. Once my 2 new tires get here, have an alignment scheduled down the road.
So that's my story. boring but satisfactory that I saved some cash, and learned a few things. All in all, the job probably took me close to 25 hrs total, counting the cleaning, sandblasting, and painting. Hope at least 1 of you enjoyed my pain. i also hope no-one else to go through this experience too soon. If so, if nothing more, plan on trashing some shirts and pants, or maybe get some cheap cover-alls. 
Last edited by joeq; 08-23-2014 at 16:15.
Old habits, die hard.
 Posting Permissions
- You may not post new threads
- You may not post replies
- You may not post attachments
- You may not edit your posts
-
Forum Rules


 Reply With Quote