Page 6 of 10 FirstFirst ... 2345678910 LastLast
Results 101 to 120 of 199

Thread: 6.2 Banks Sidewinder Turbo Build

  1. #101
    Join Date
    Jul 2020
    Location
    Montana
    Posts
    392

    Default

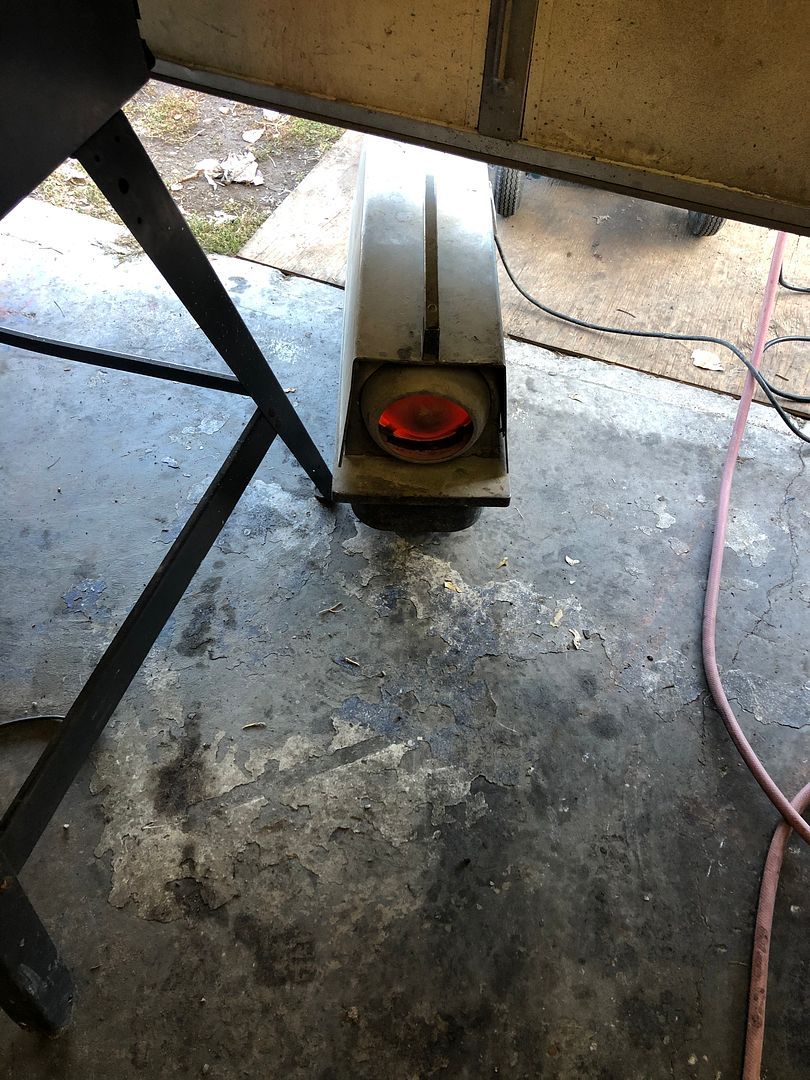
    It’s getting cold out and I am too lazy to clean the wood stove chimney in the shop so I fired up the old kerosine heater.


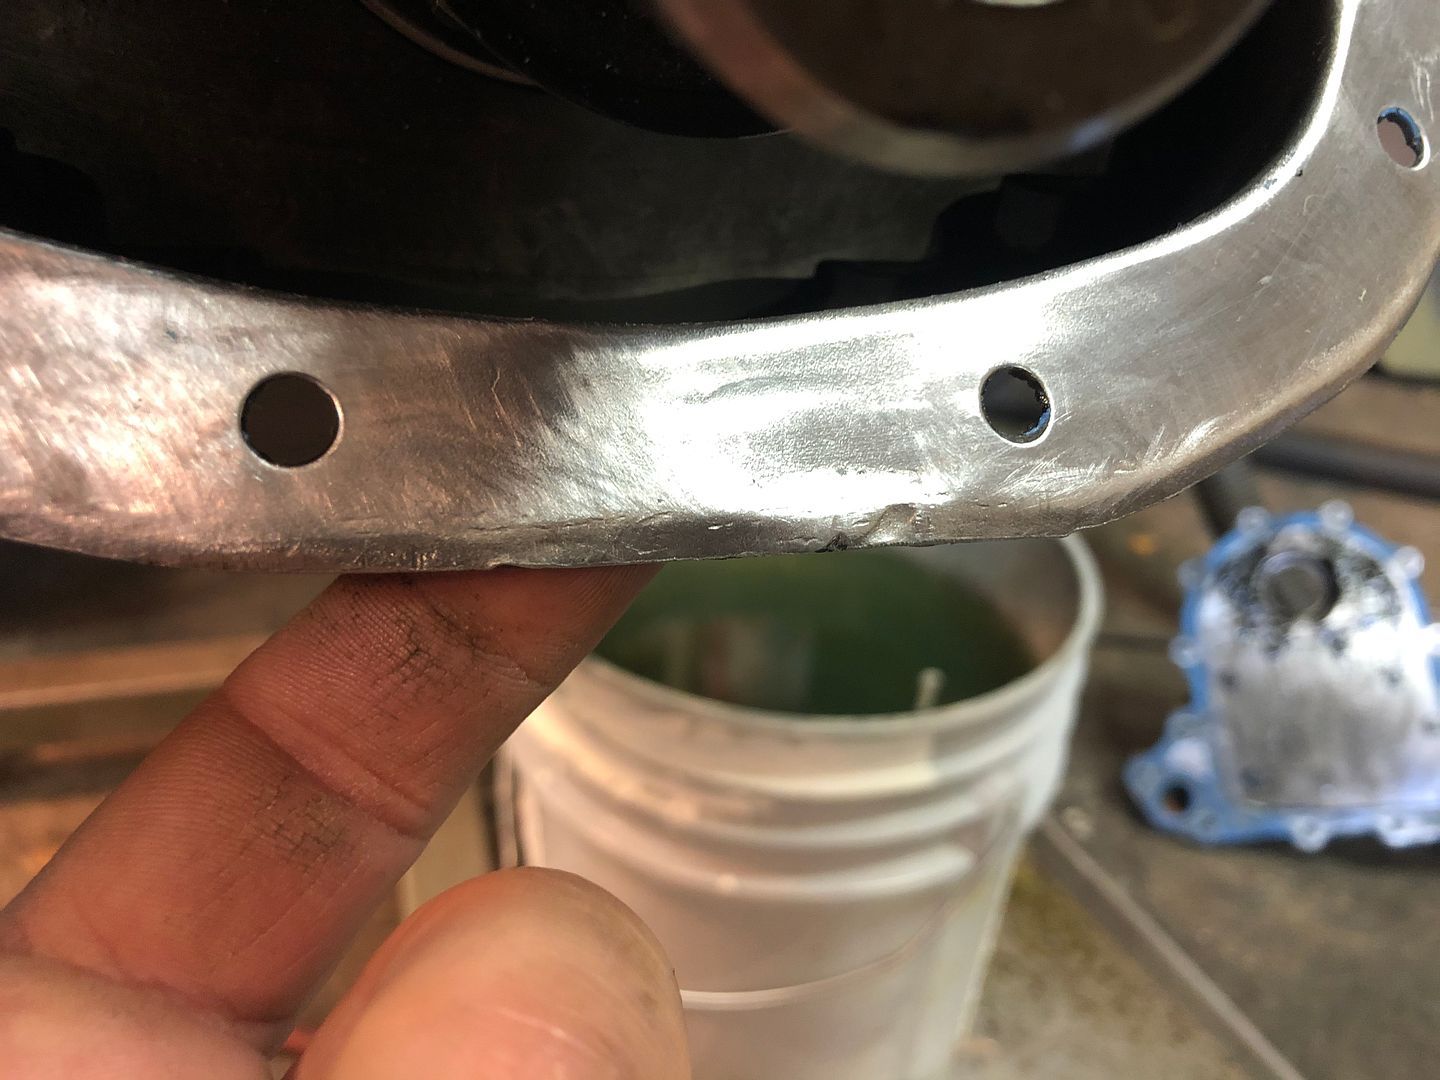
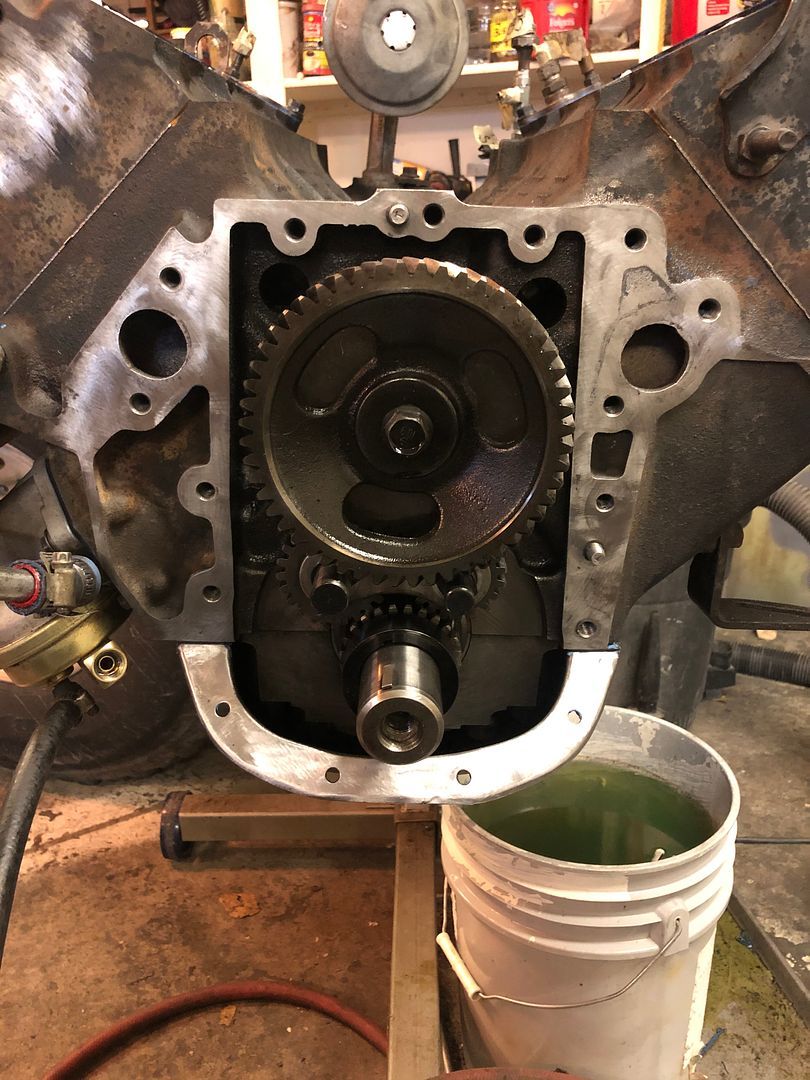
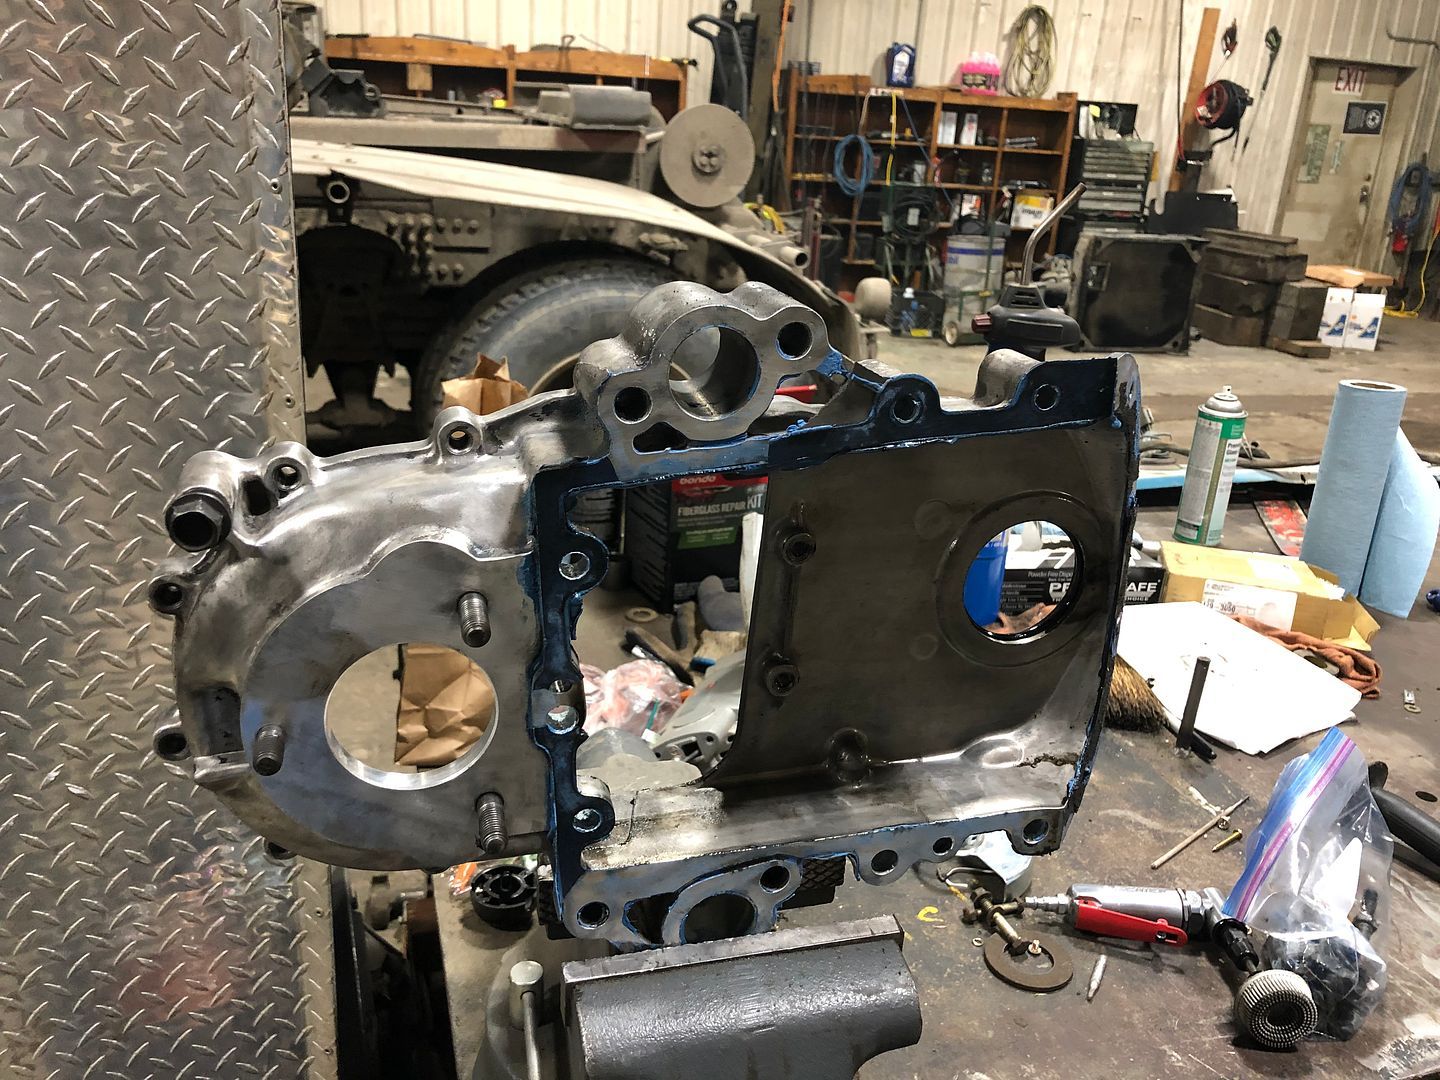
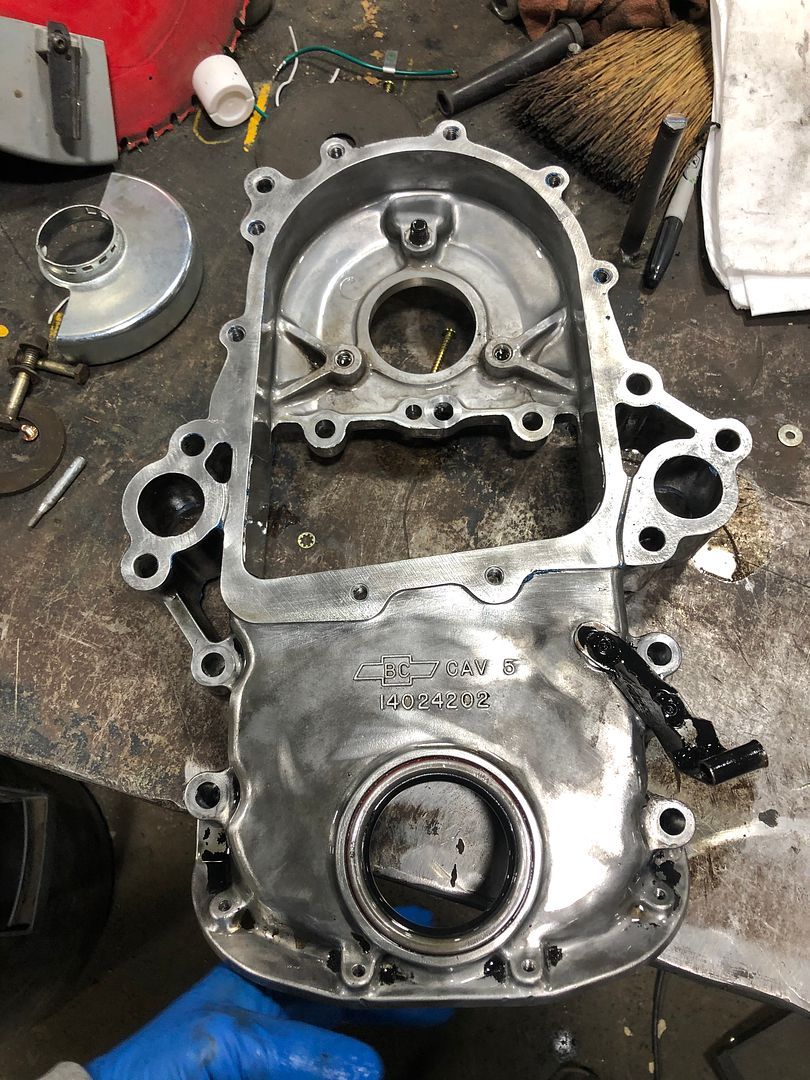
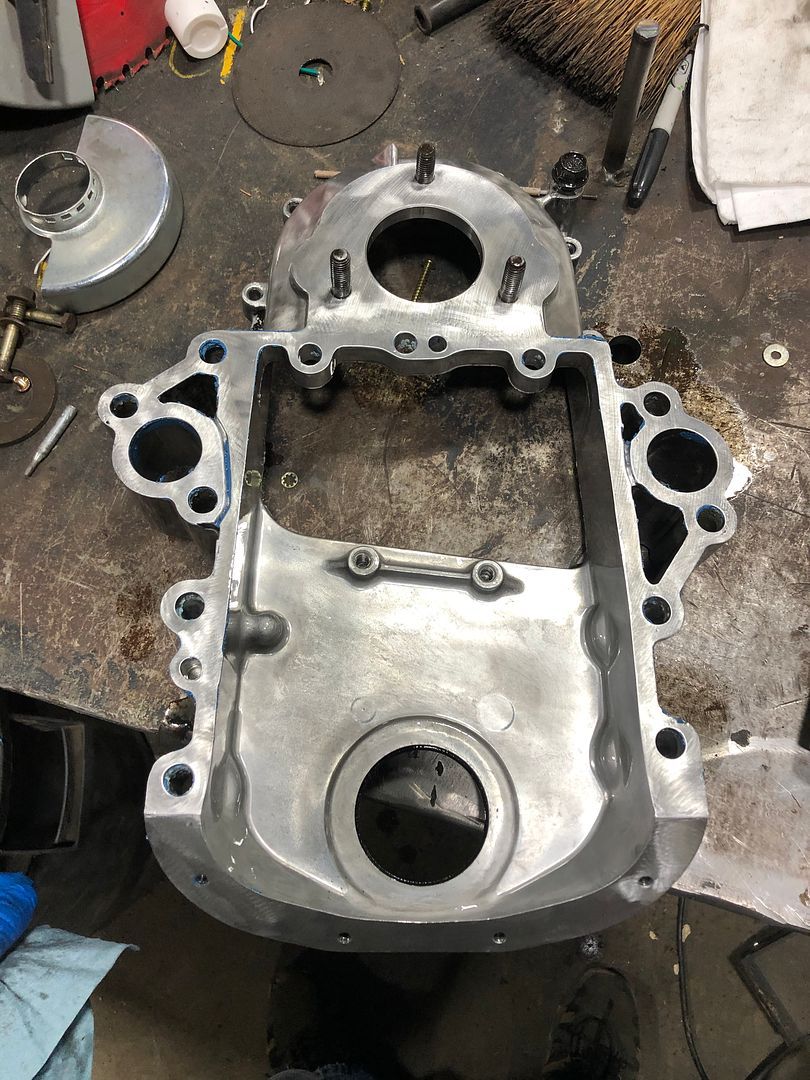
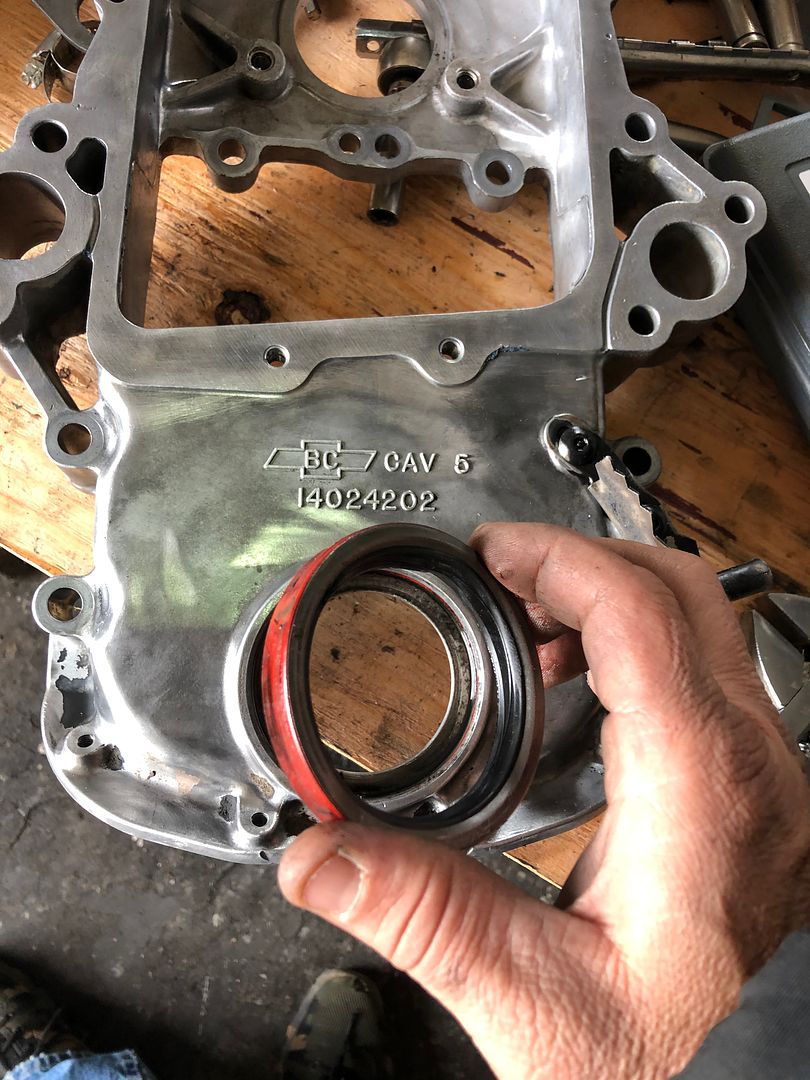
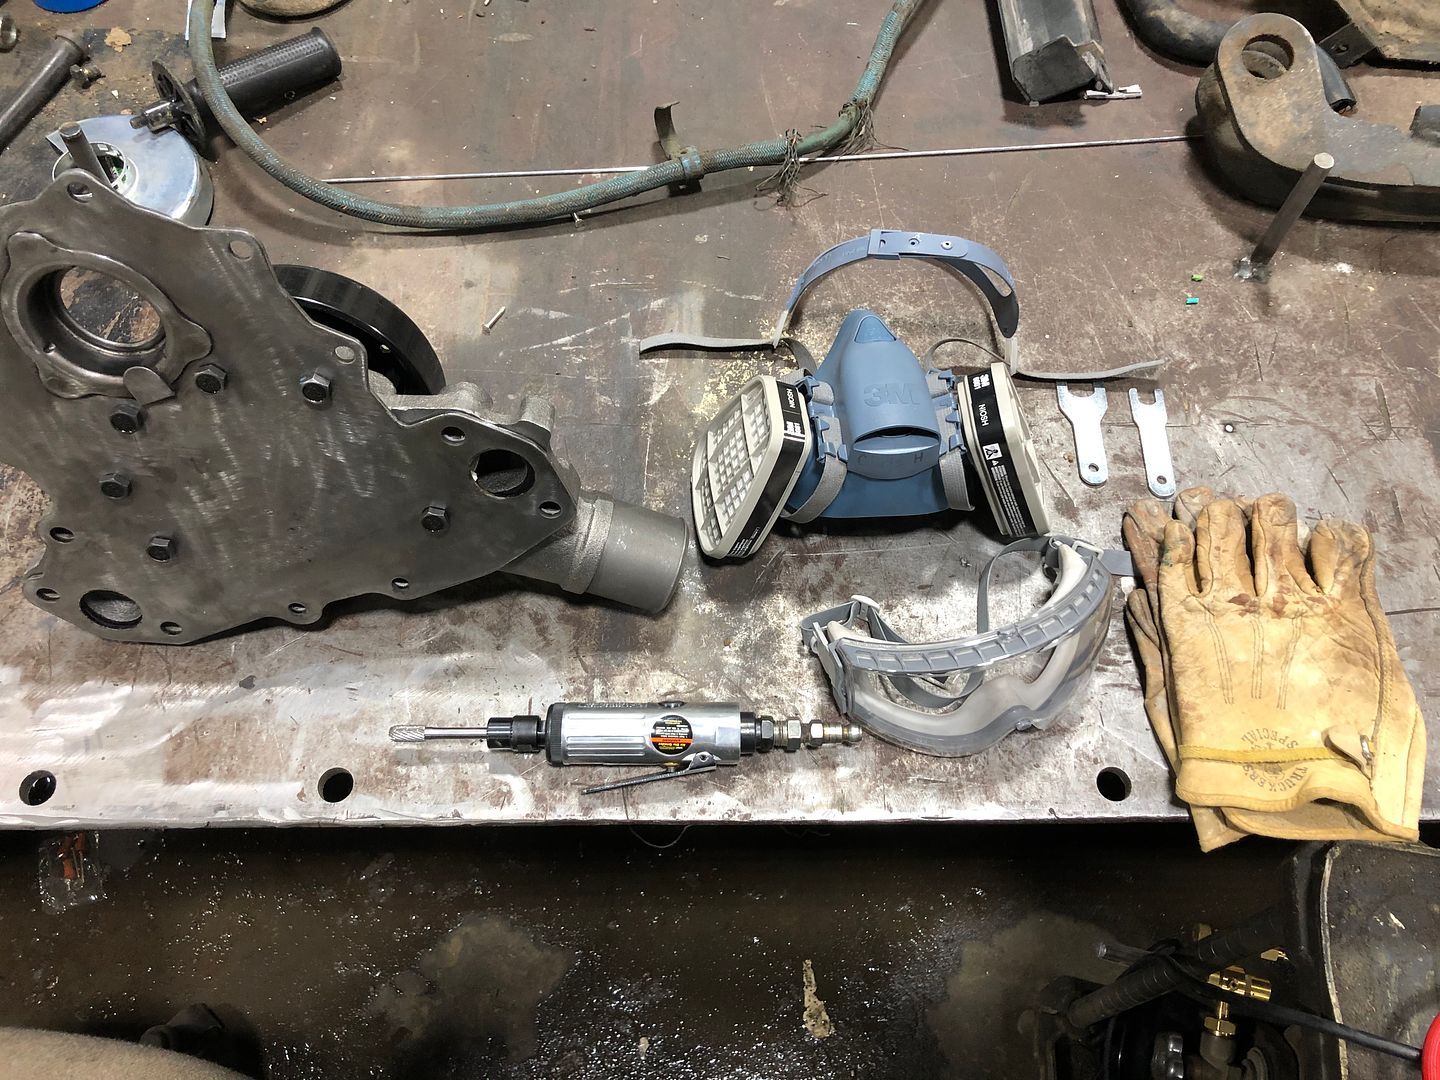
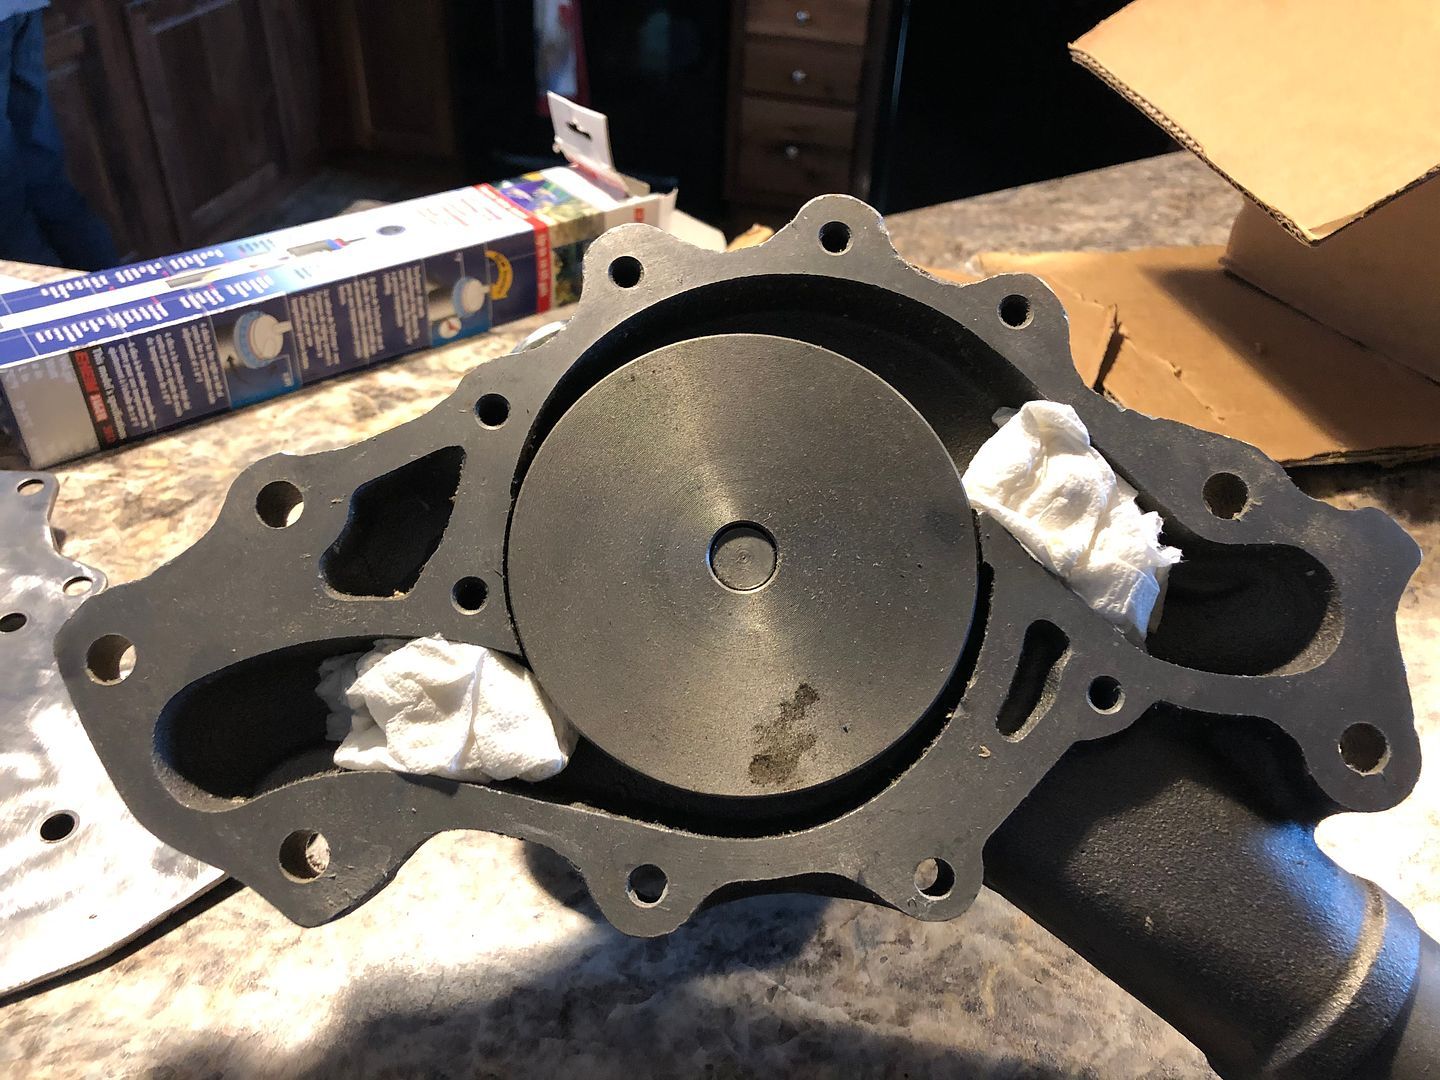
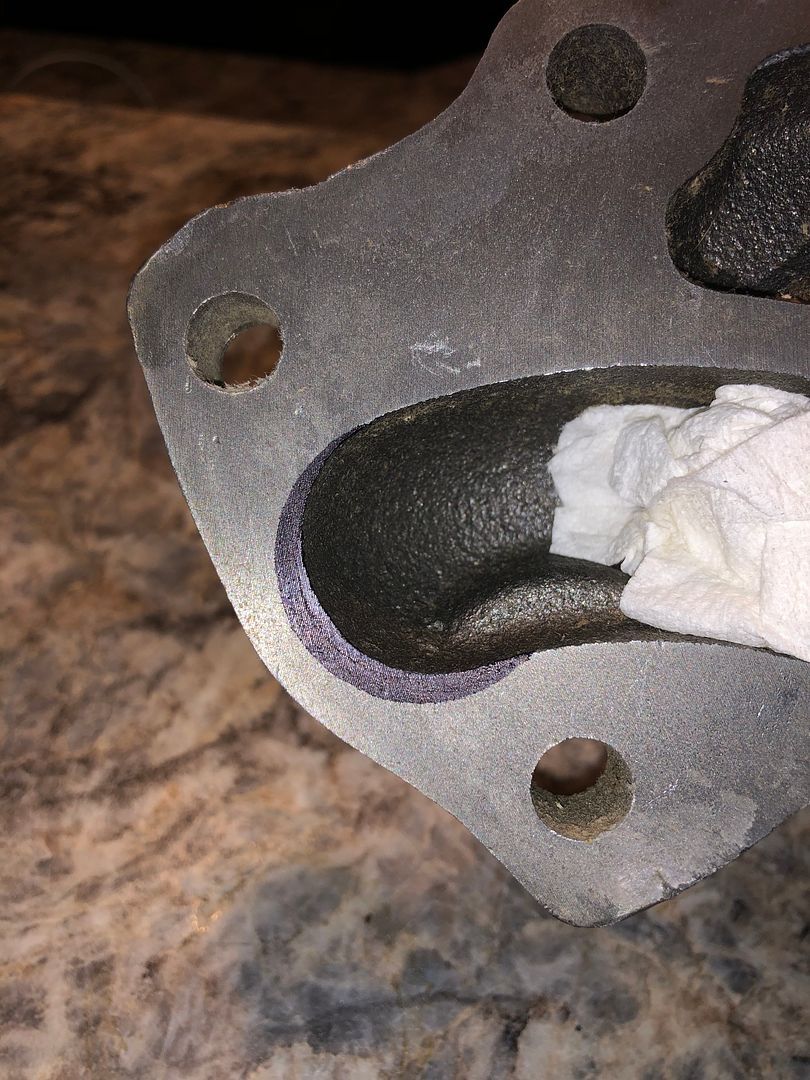
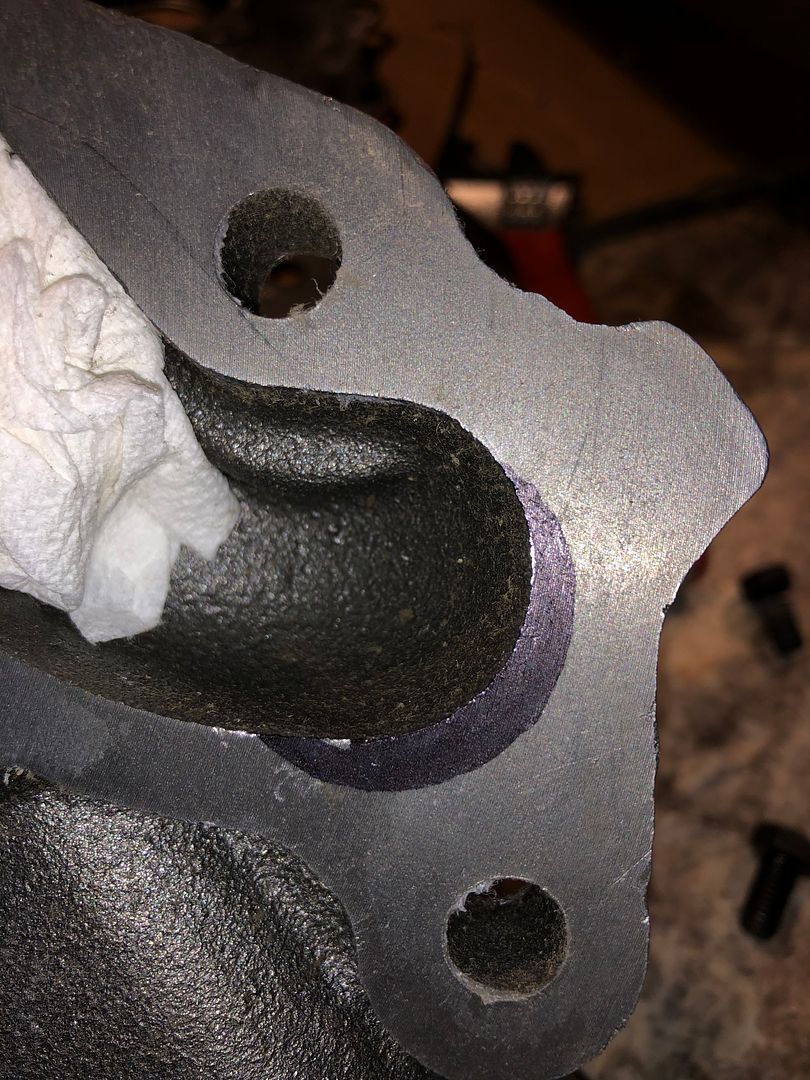
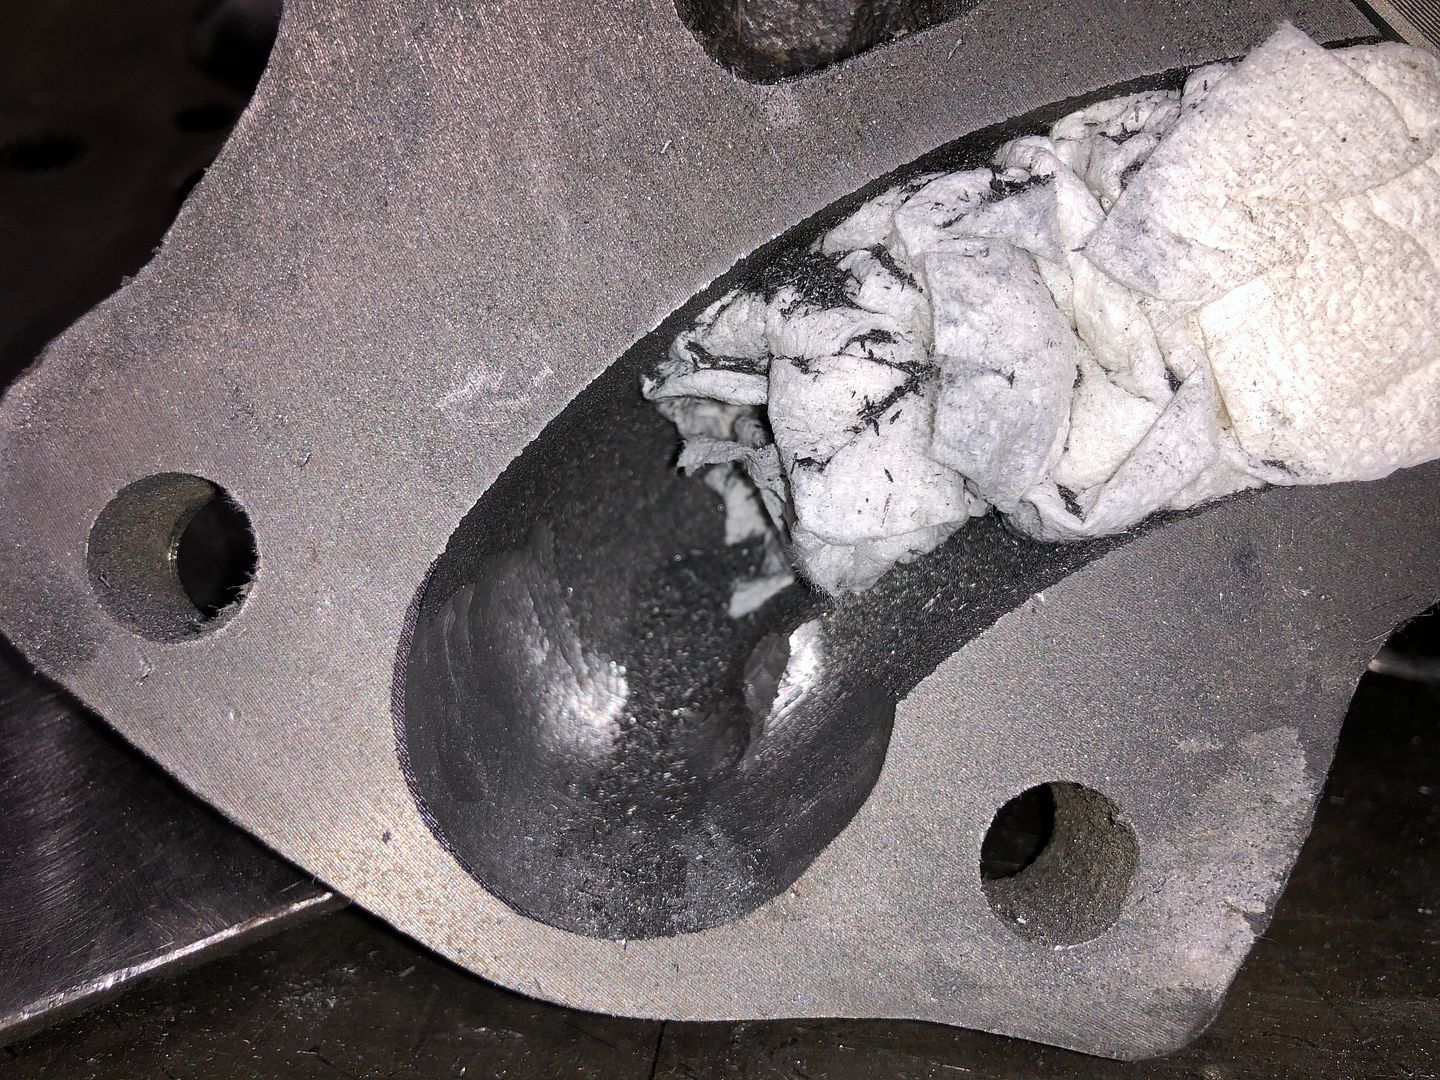
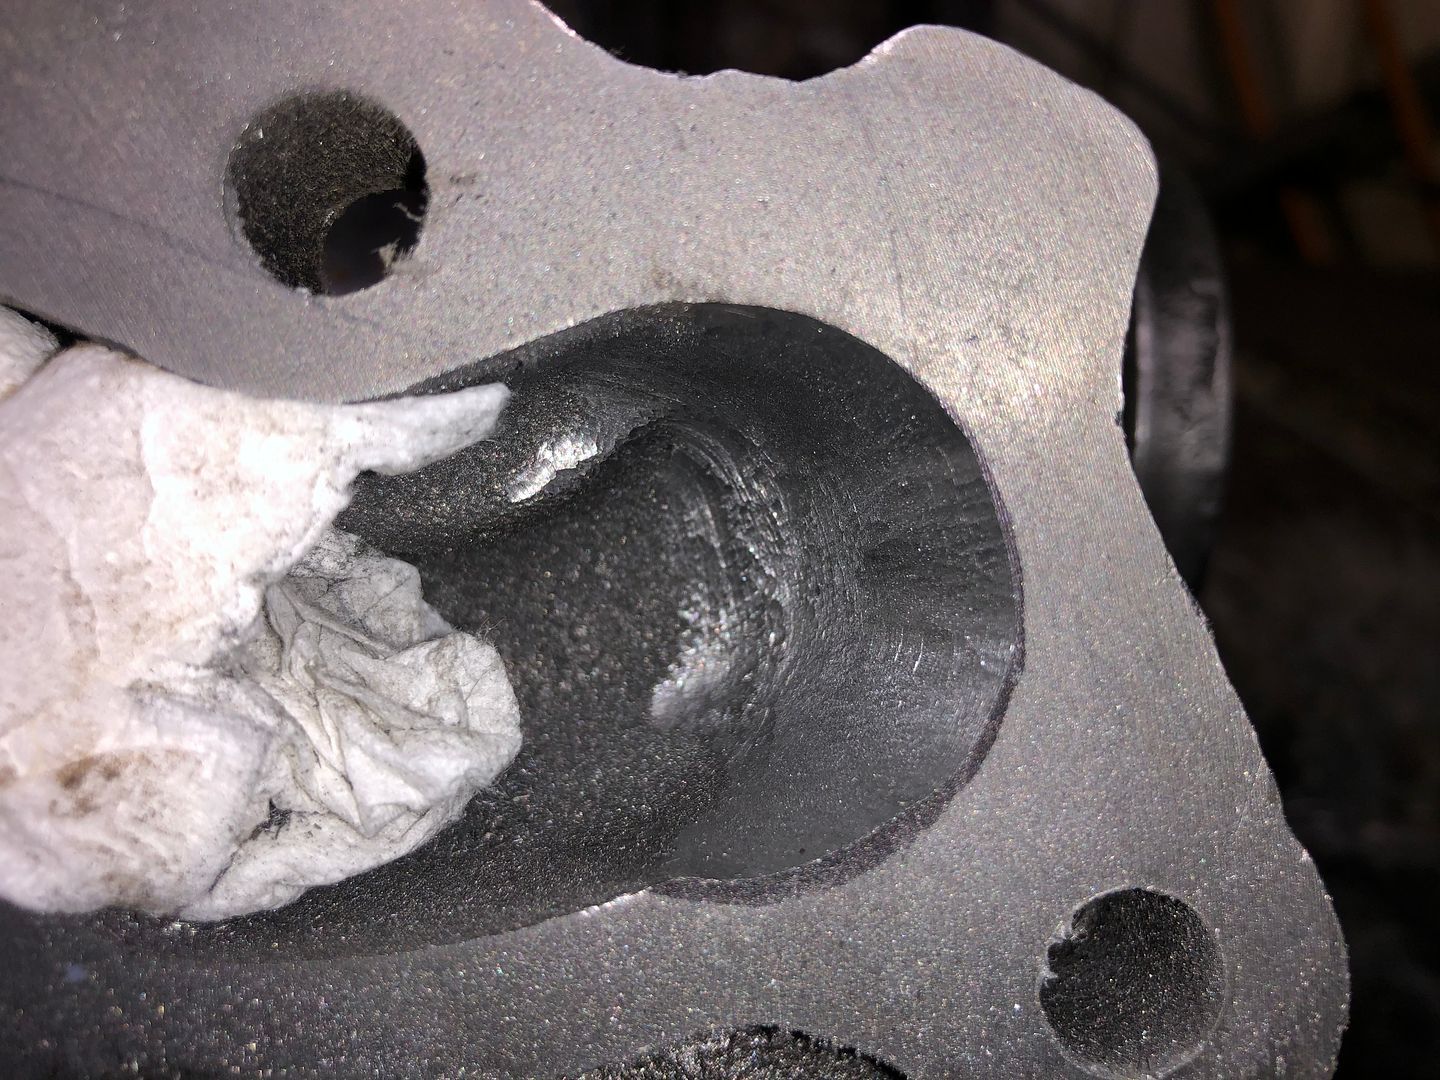
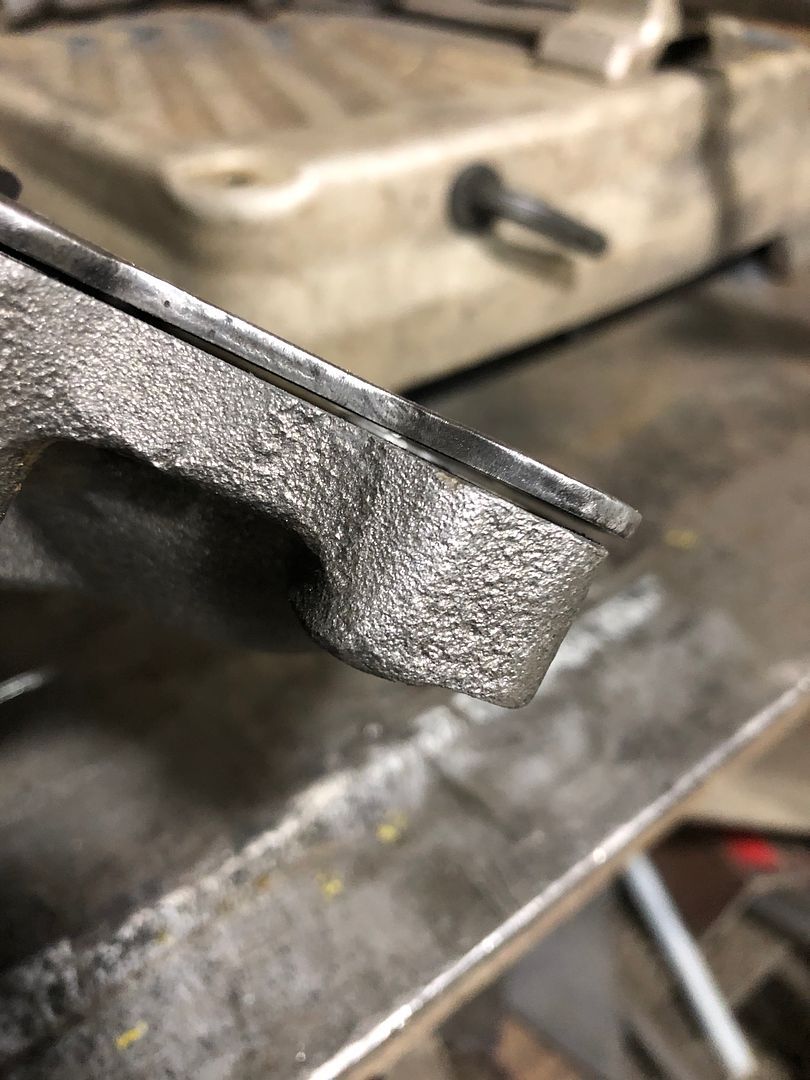
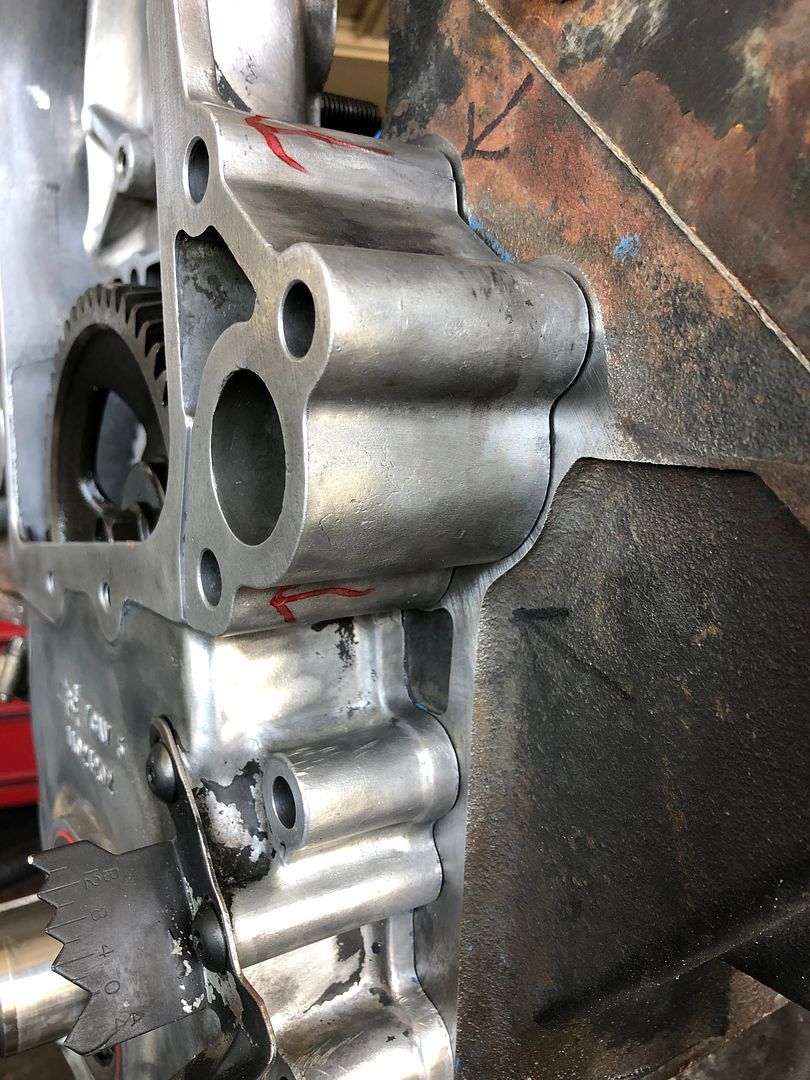
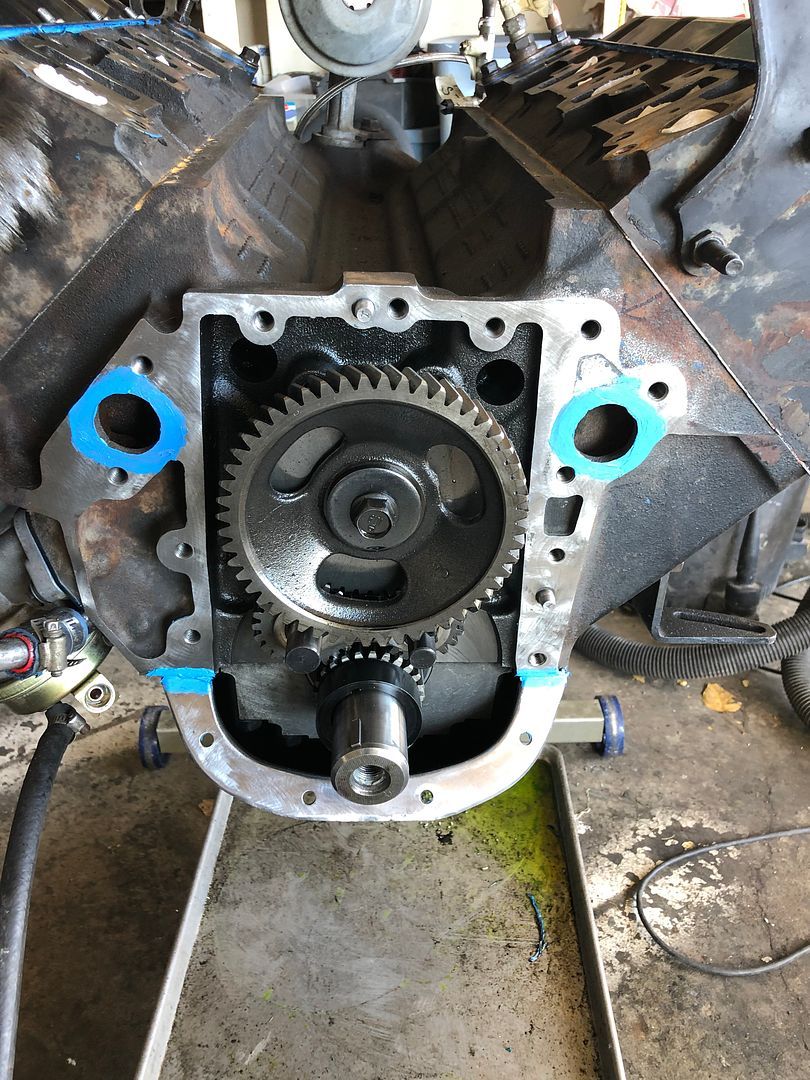
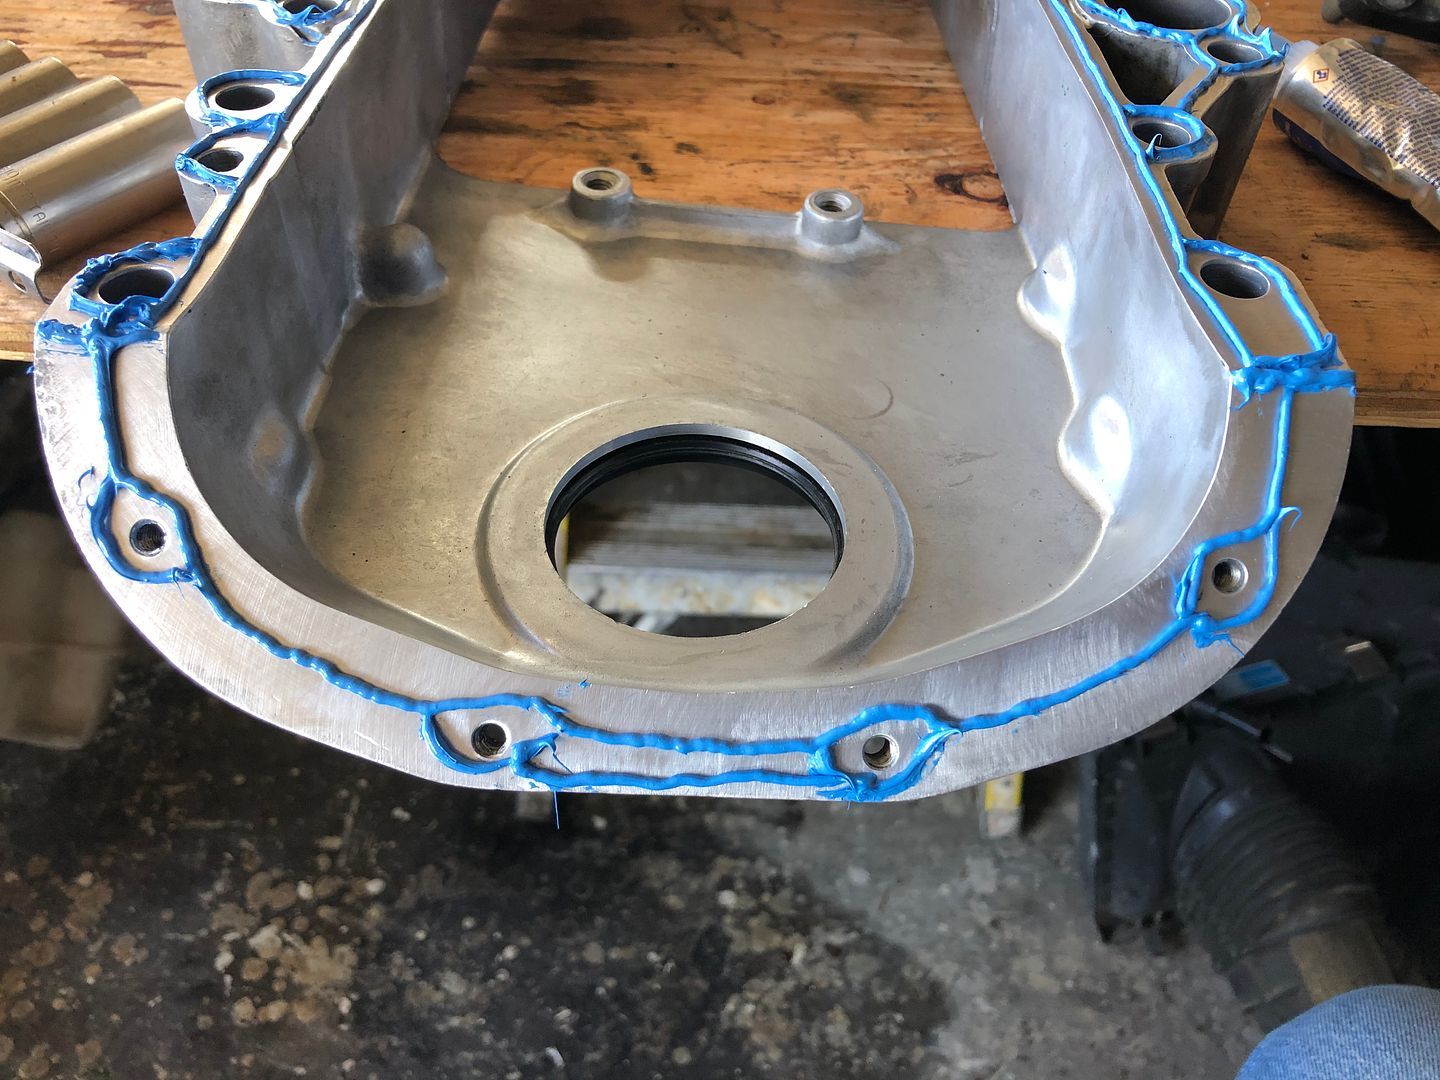
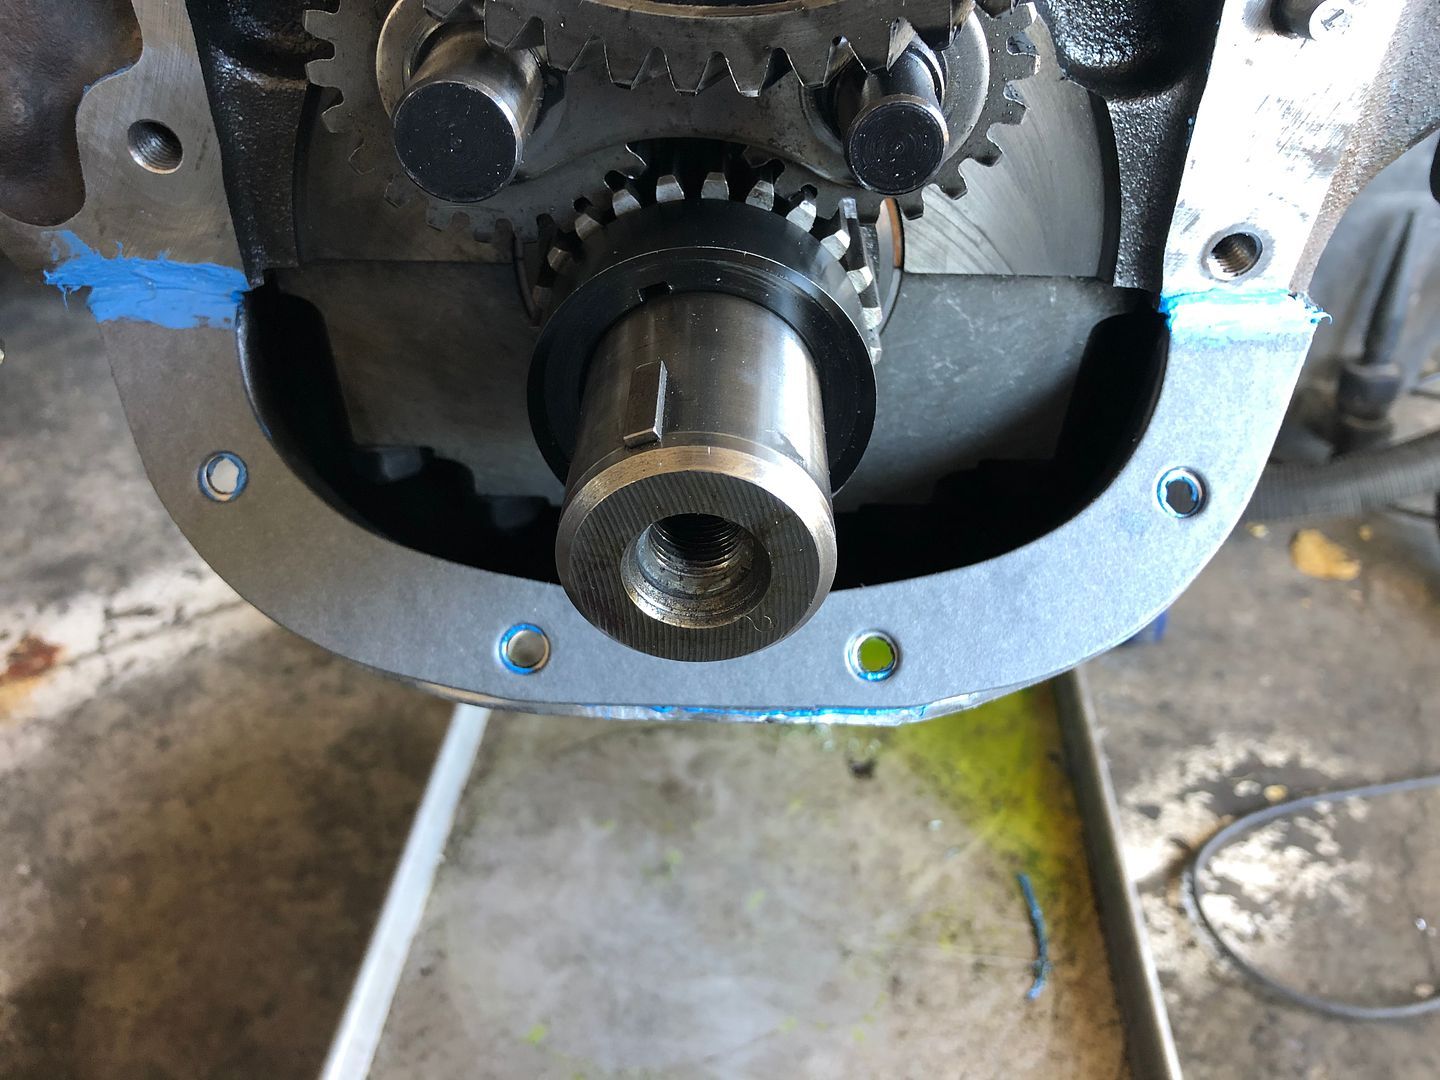
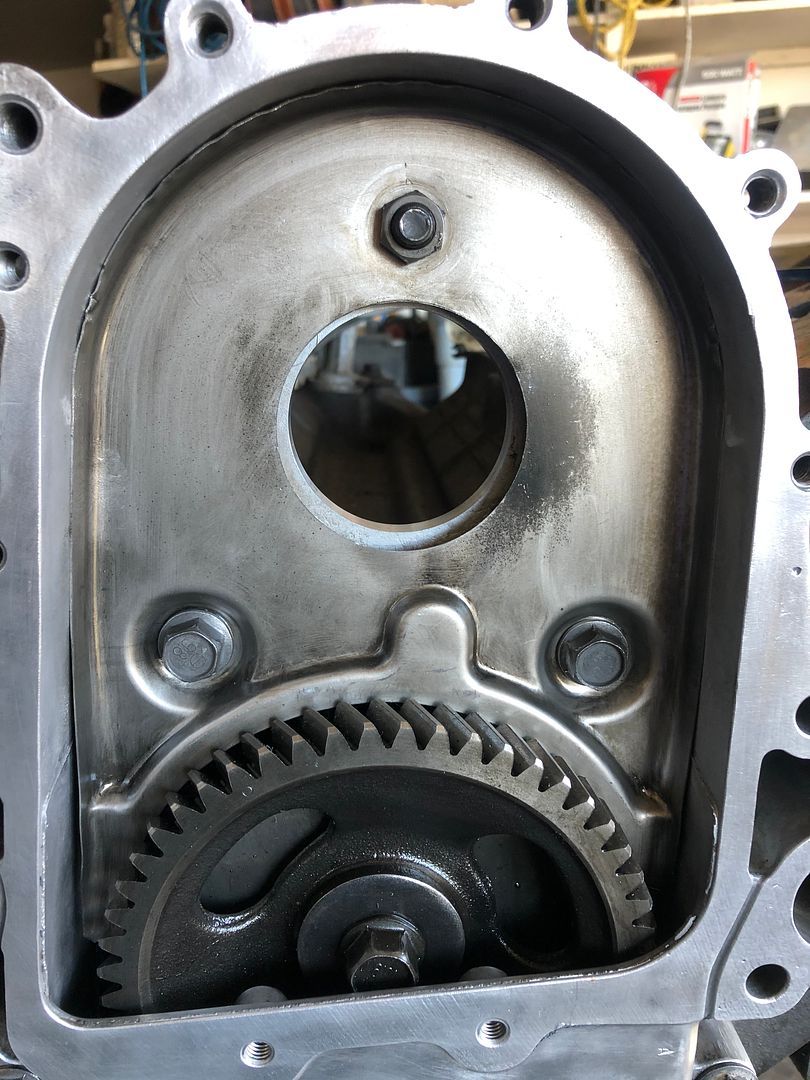
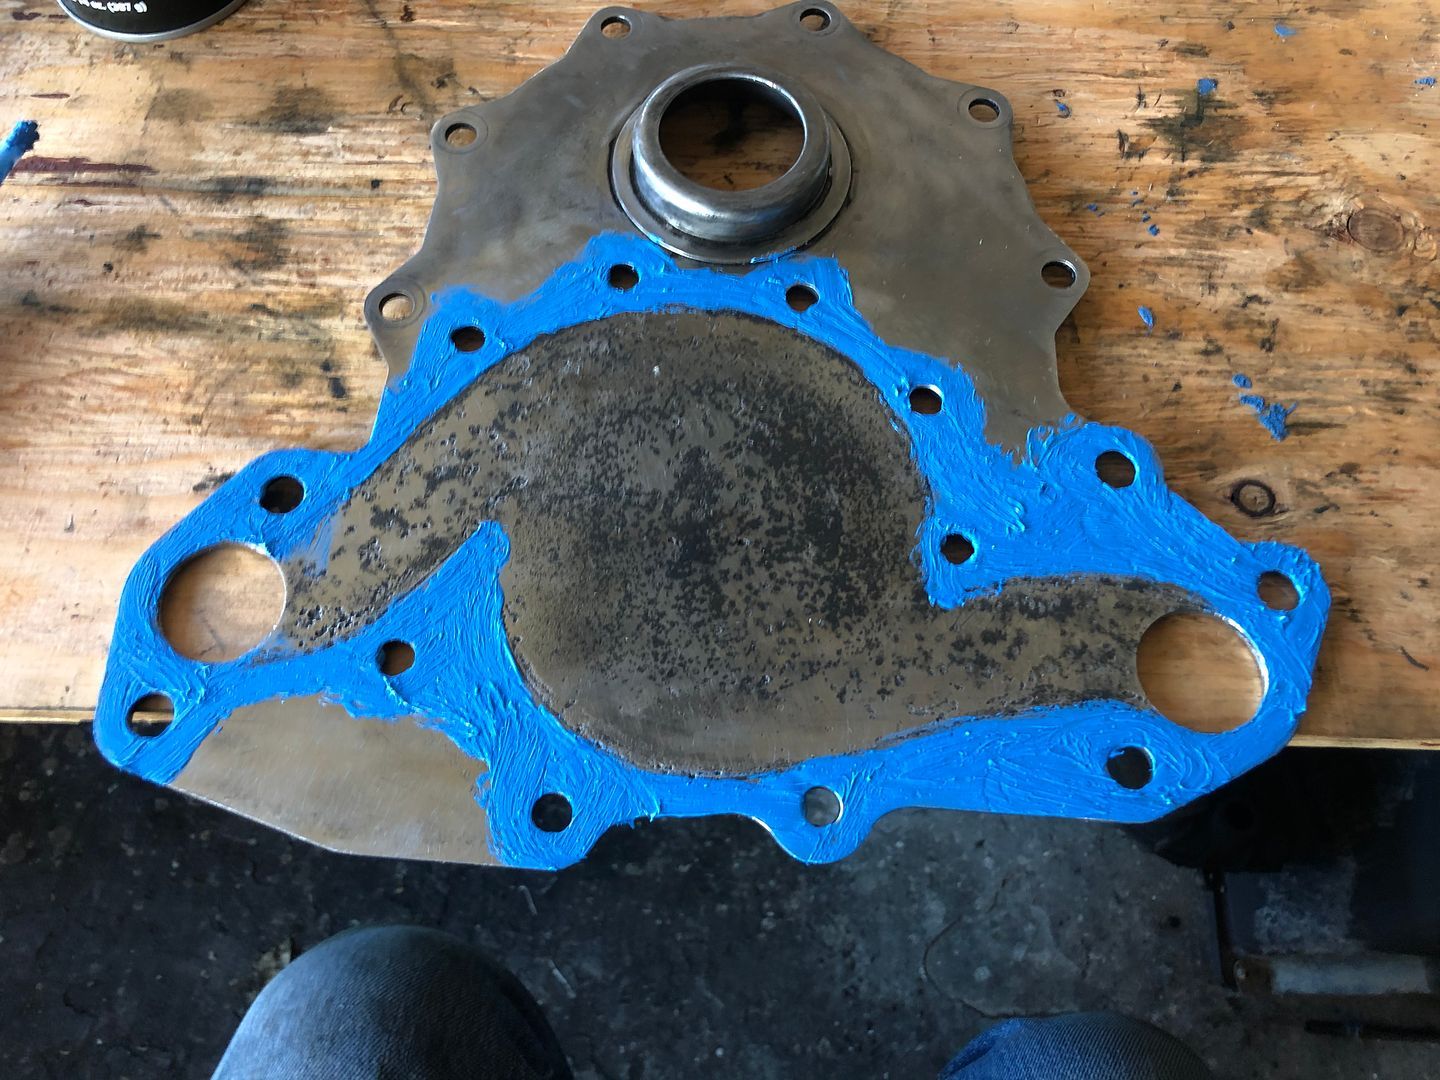
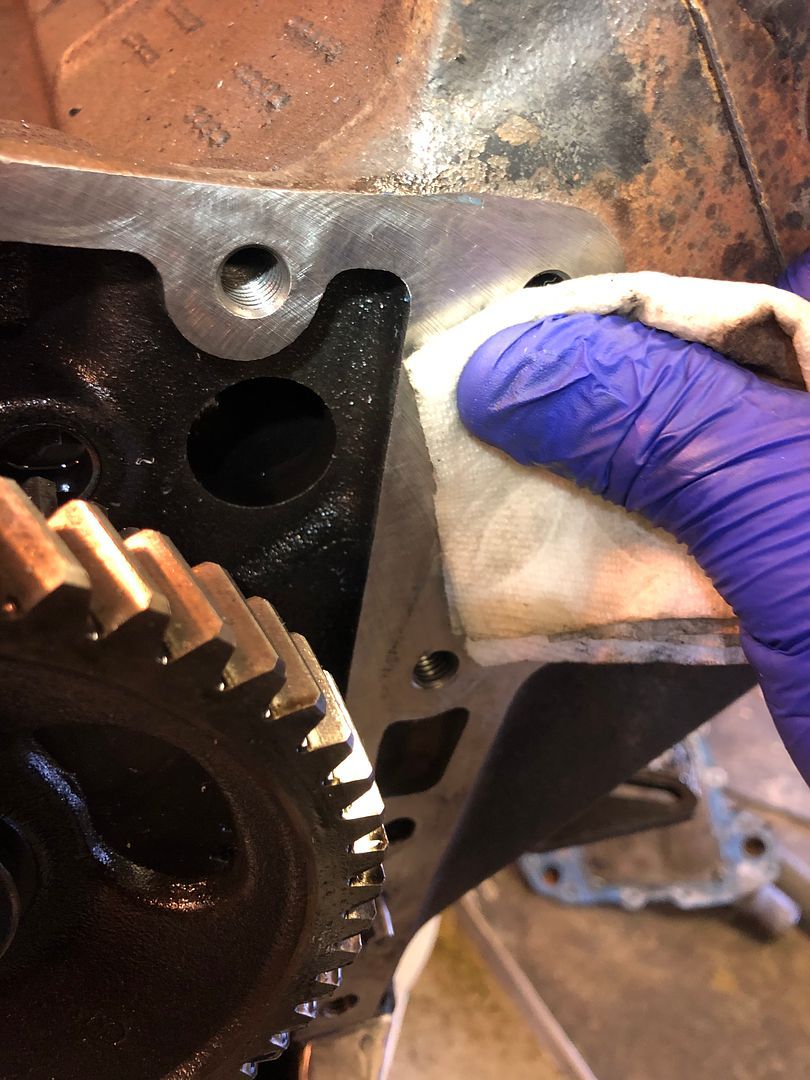
    To clean up the old gasket material from the timing plate block side, I used my razor blade and scraped all big pieces of the old gasket off without scratching the surface. Next I used a 120 grit Roloc disk. It felt more like 200 grit. Before doing any work on it, I put a paper towel down and shaped it like a bowl so it would collect any debris preventing chunks falling into the oil pan.


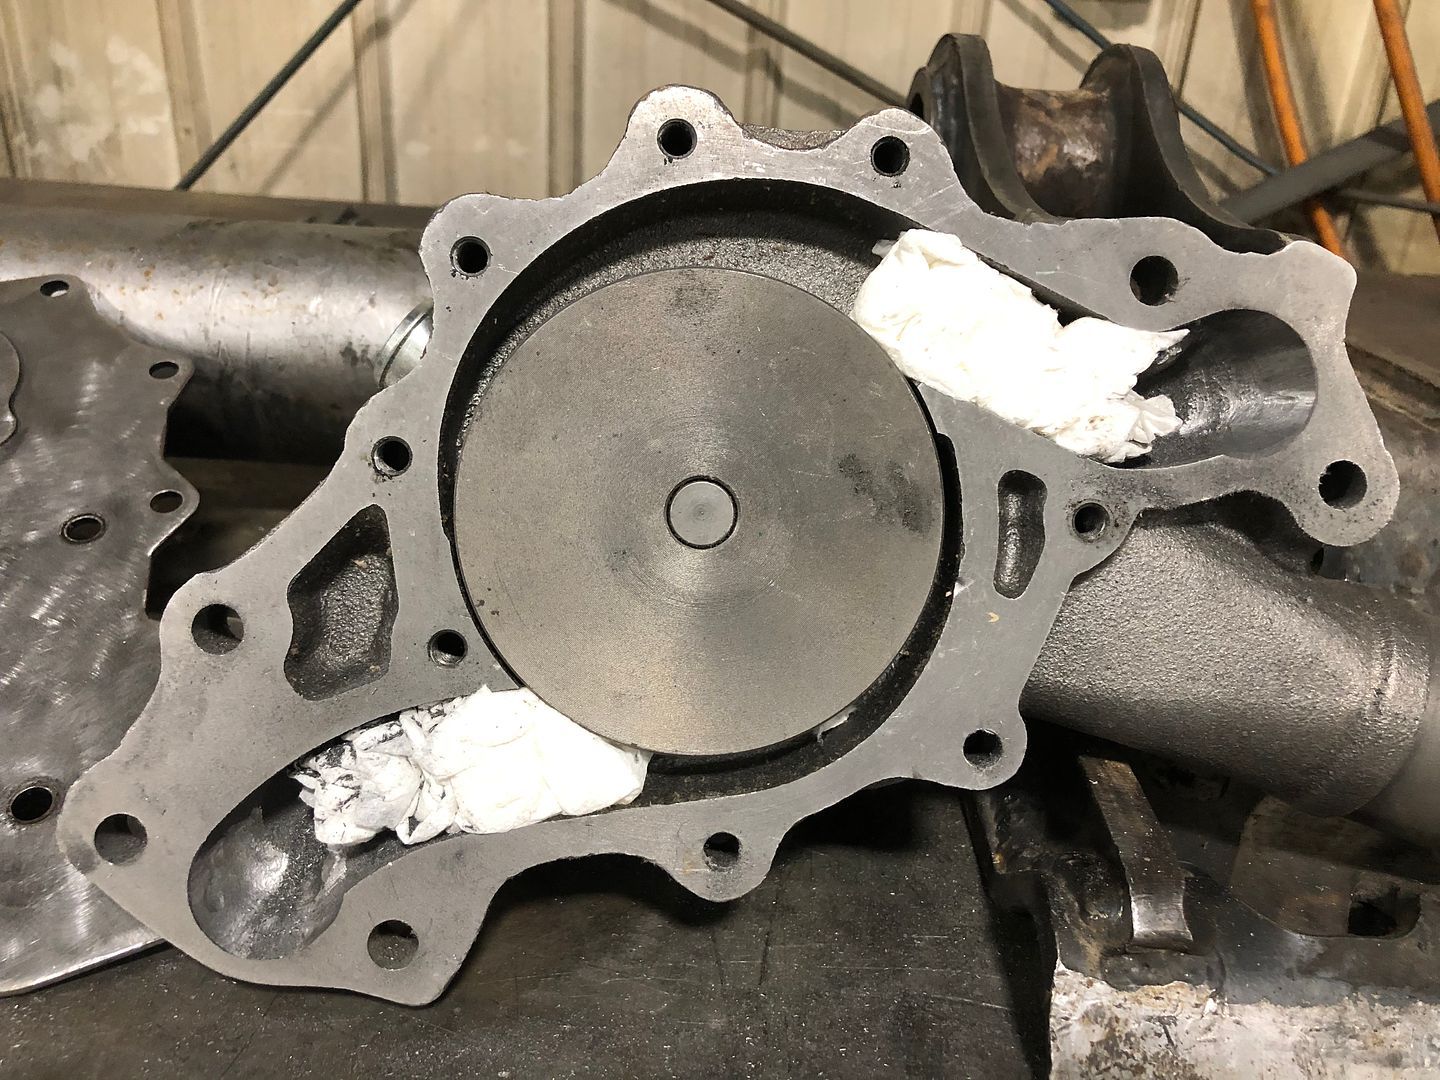
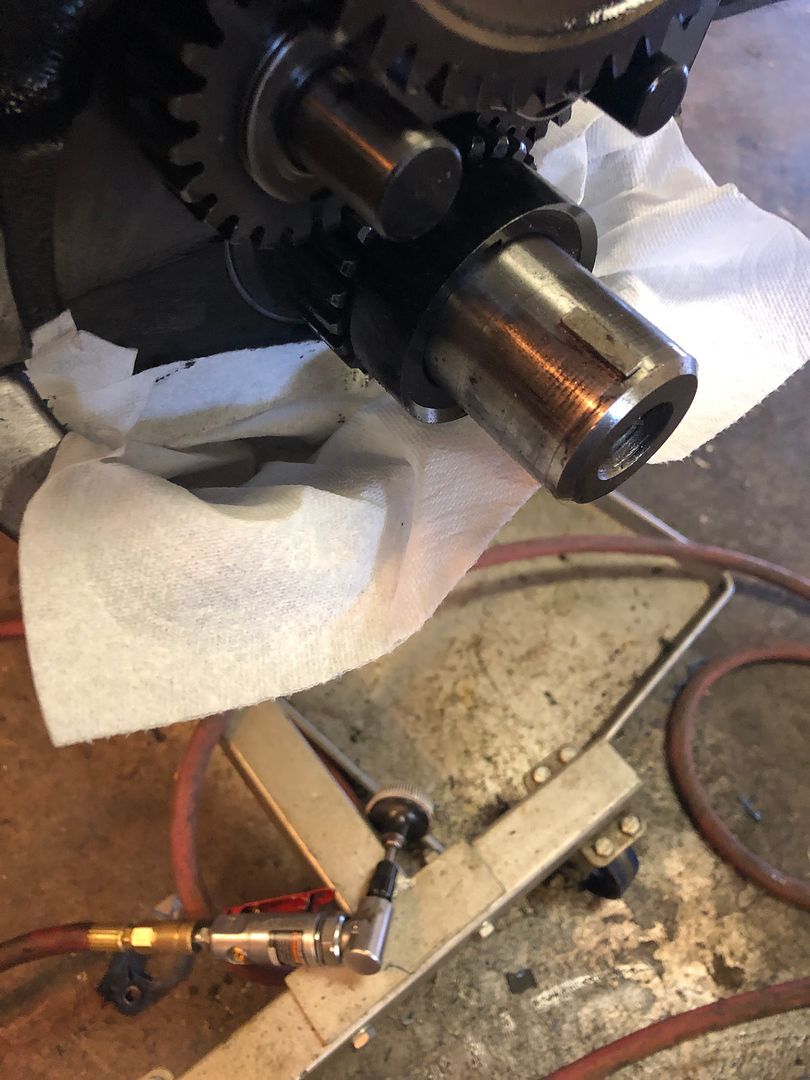
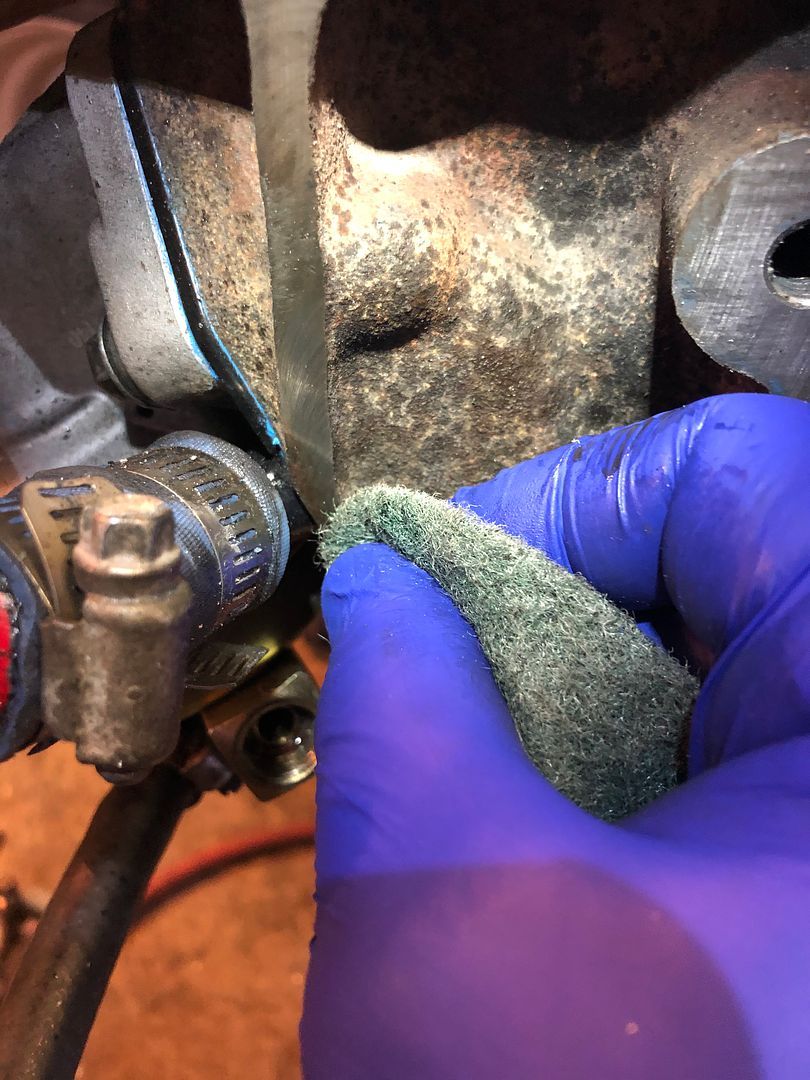
    I used the scotch pad to clean areas that the roloc disk was not able to get to.


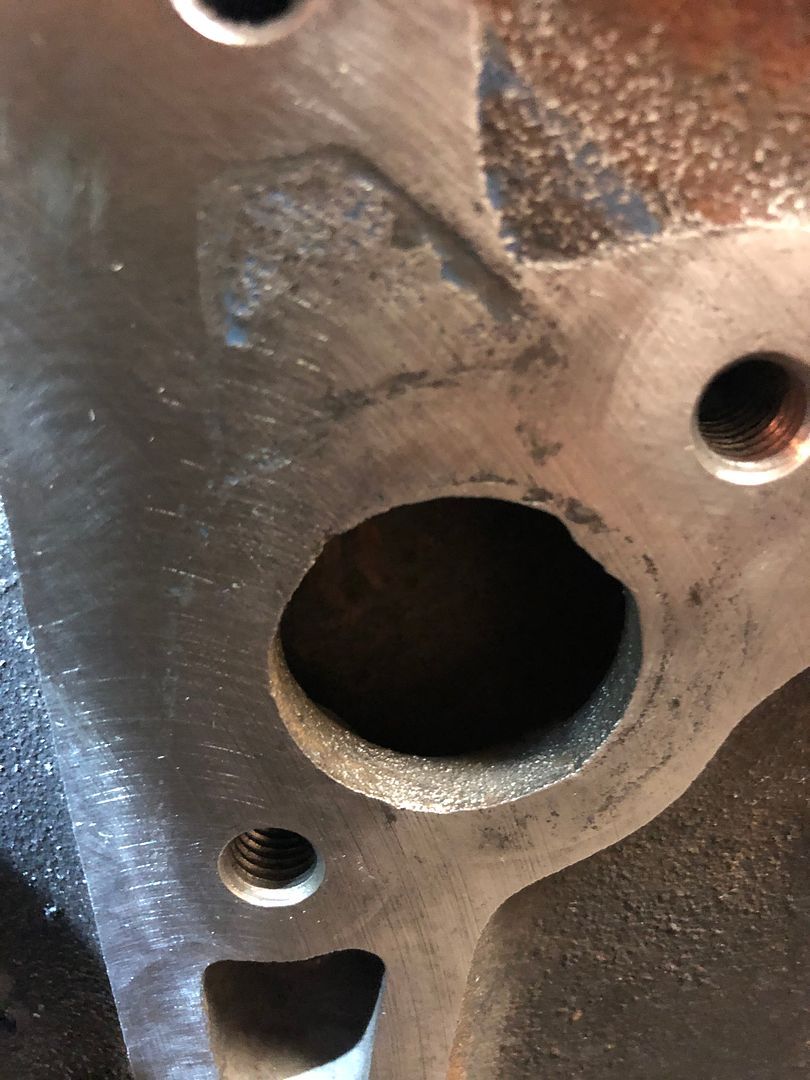
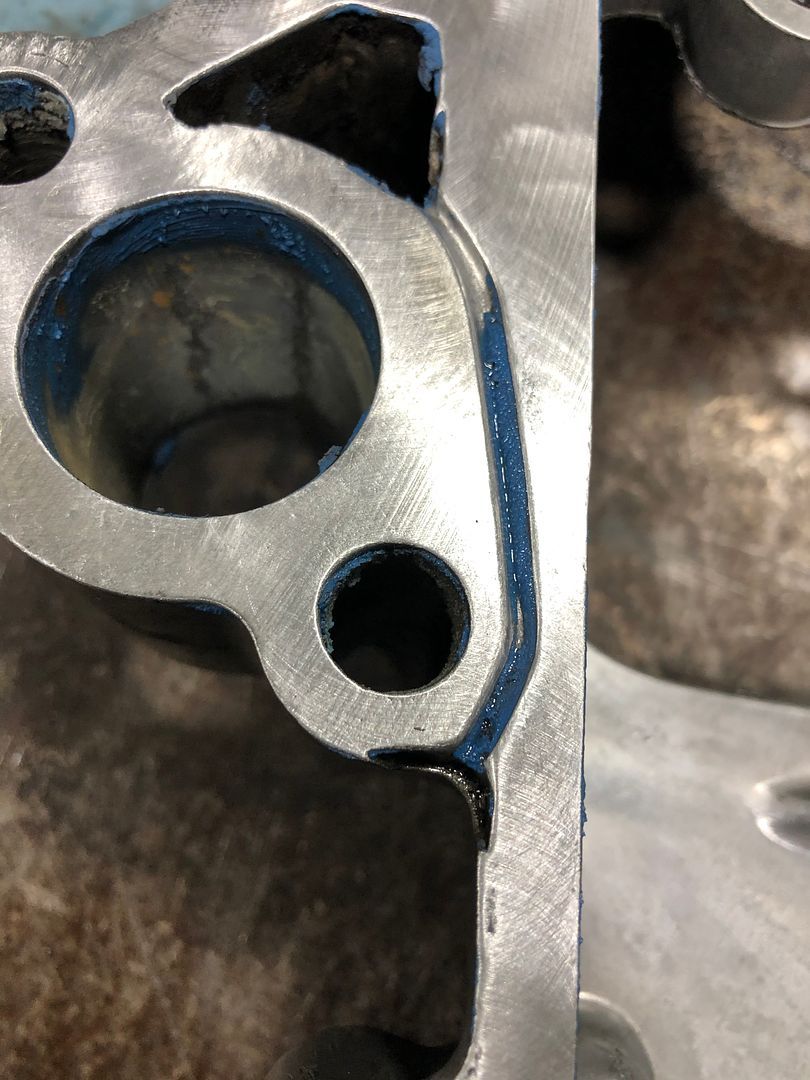
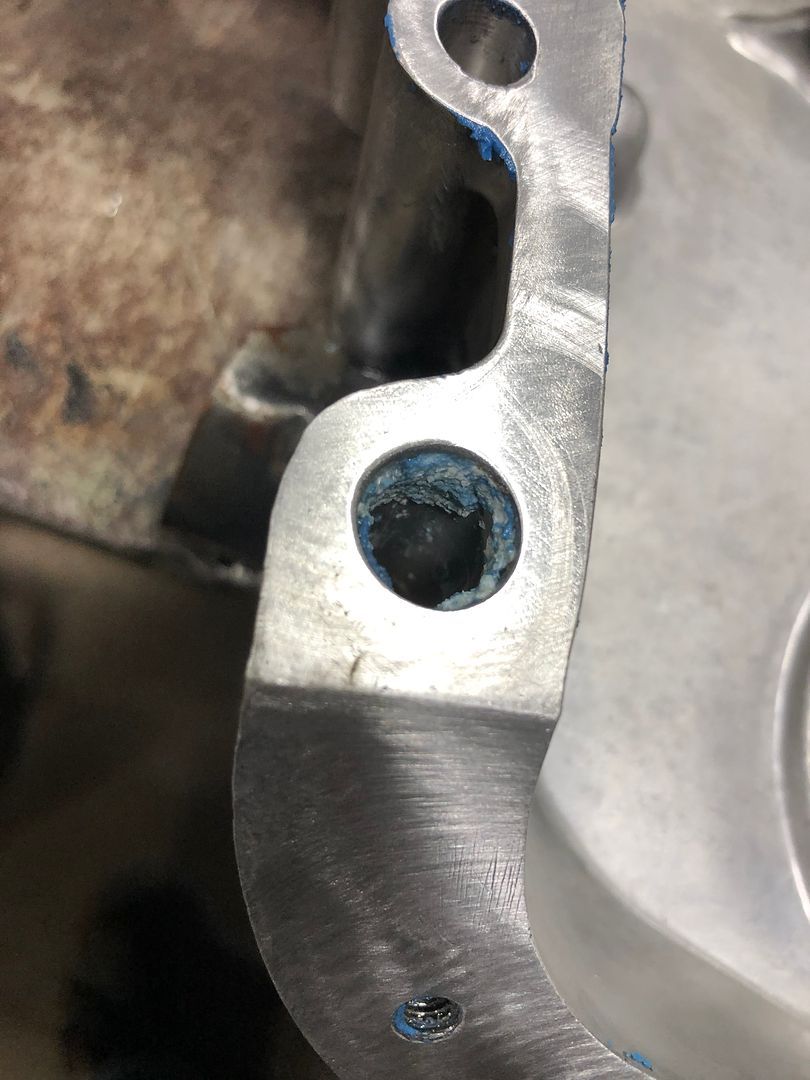
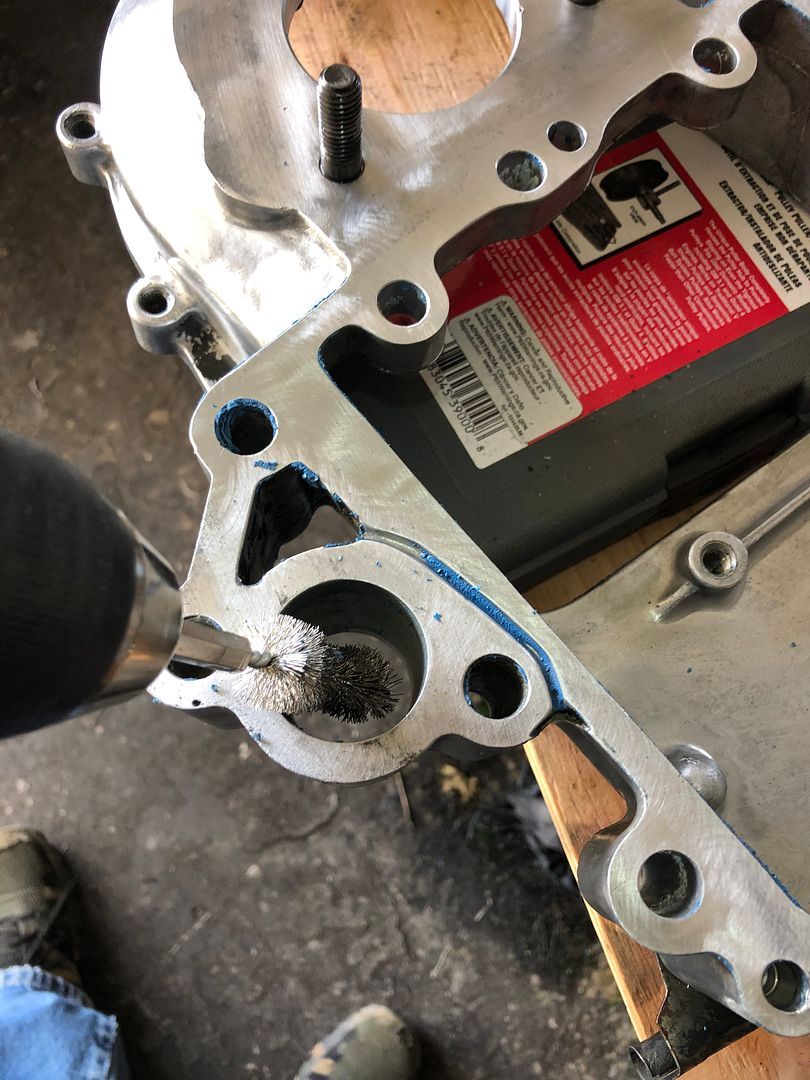
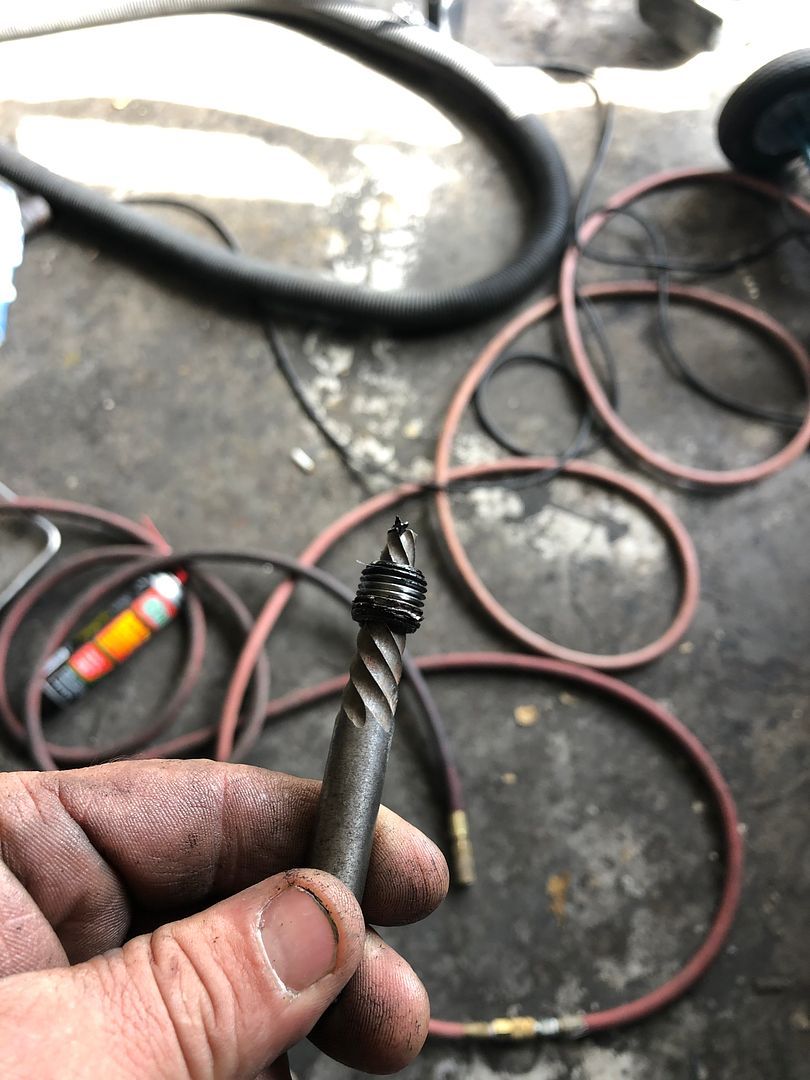
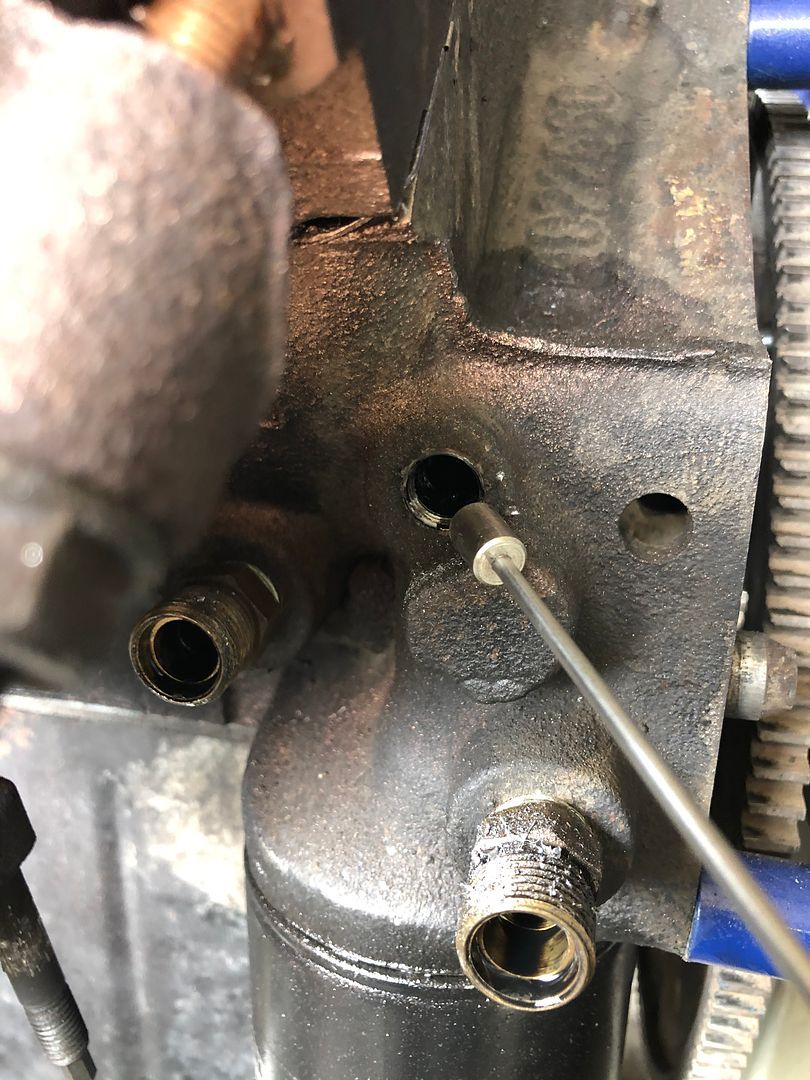
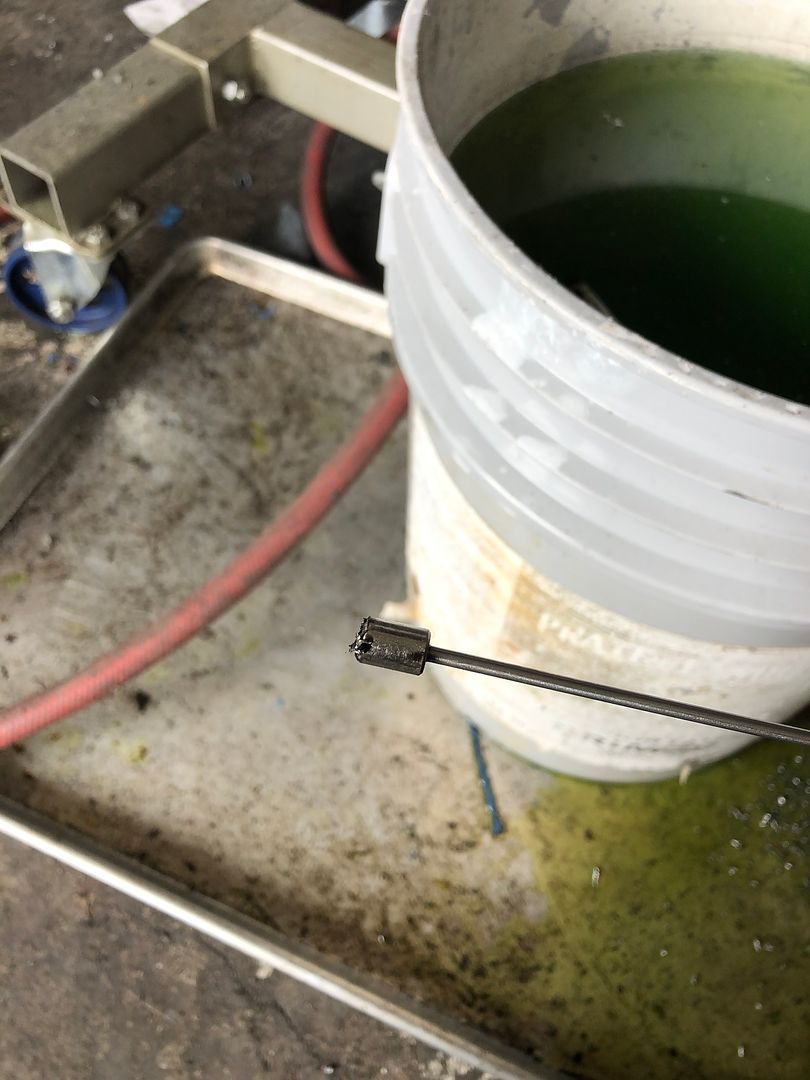
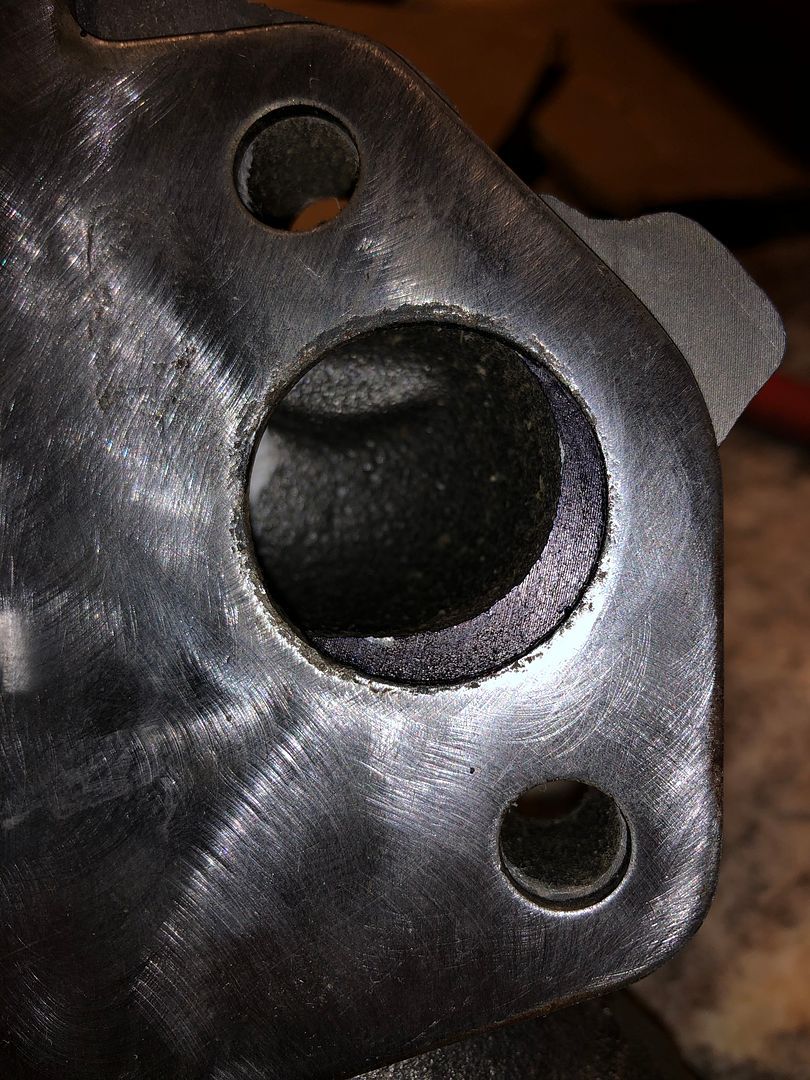
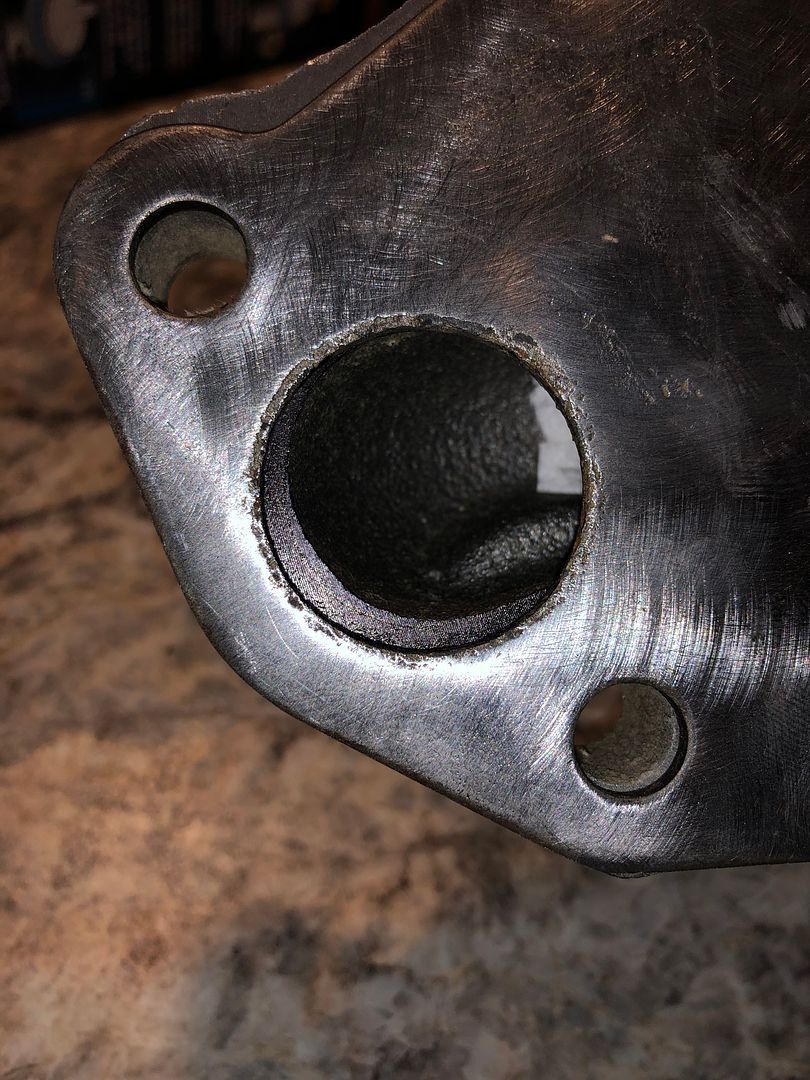
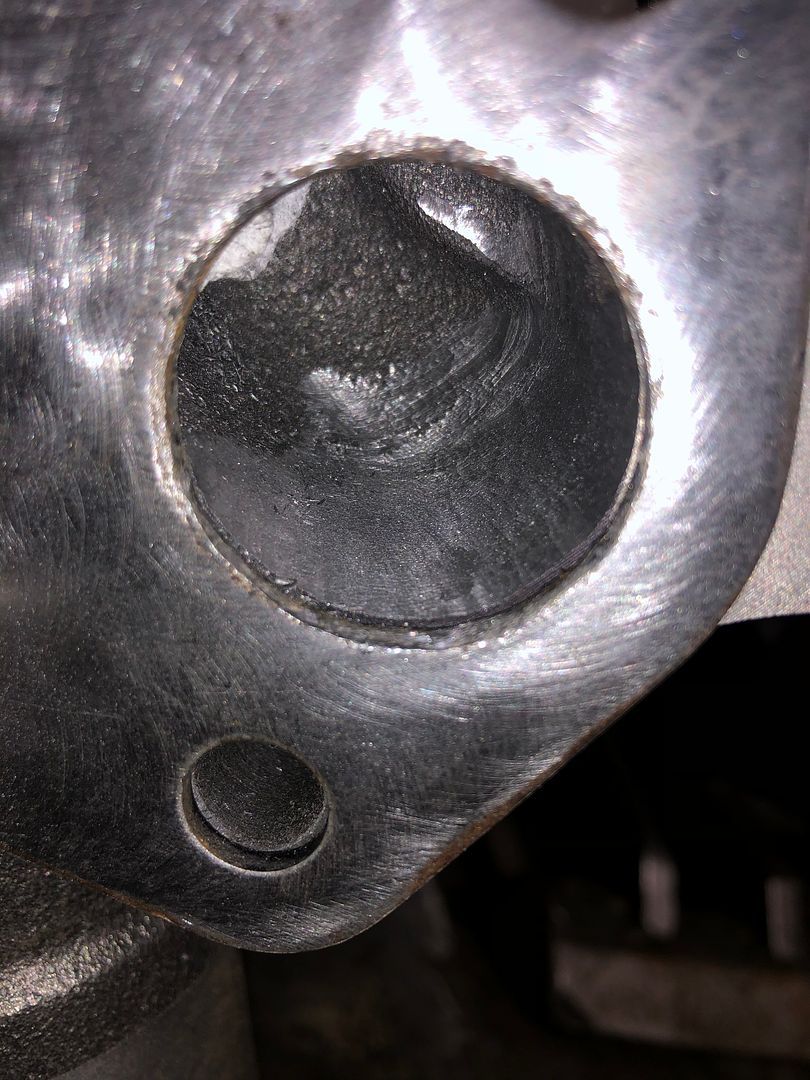
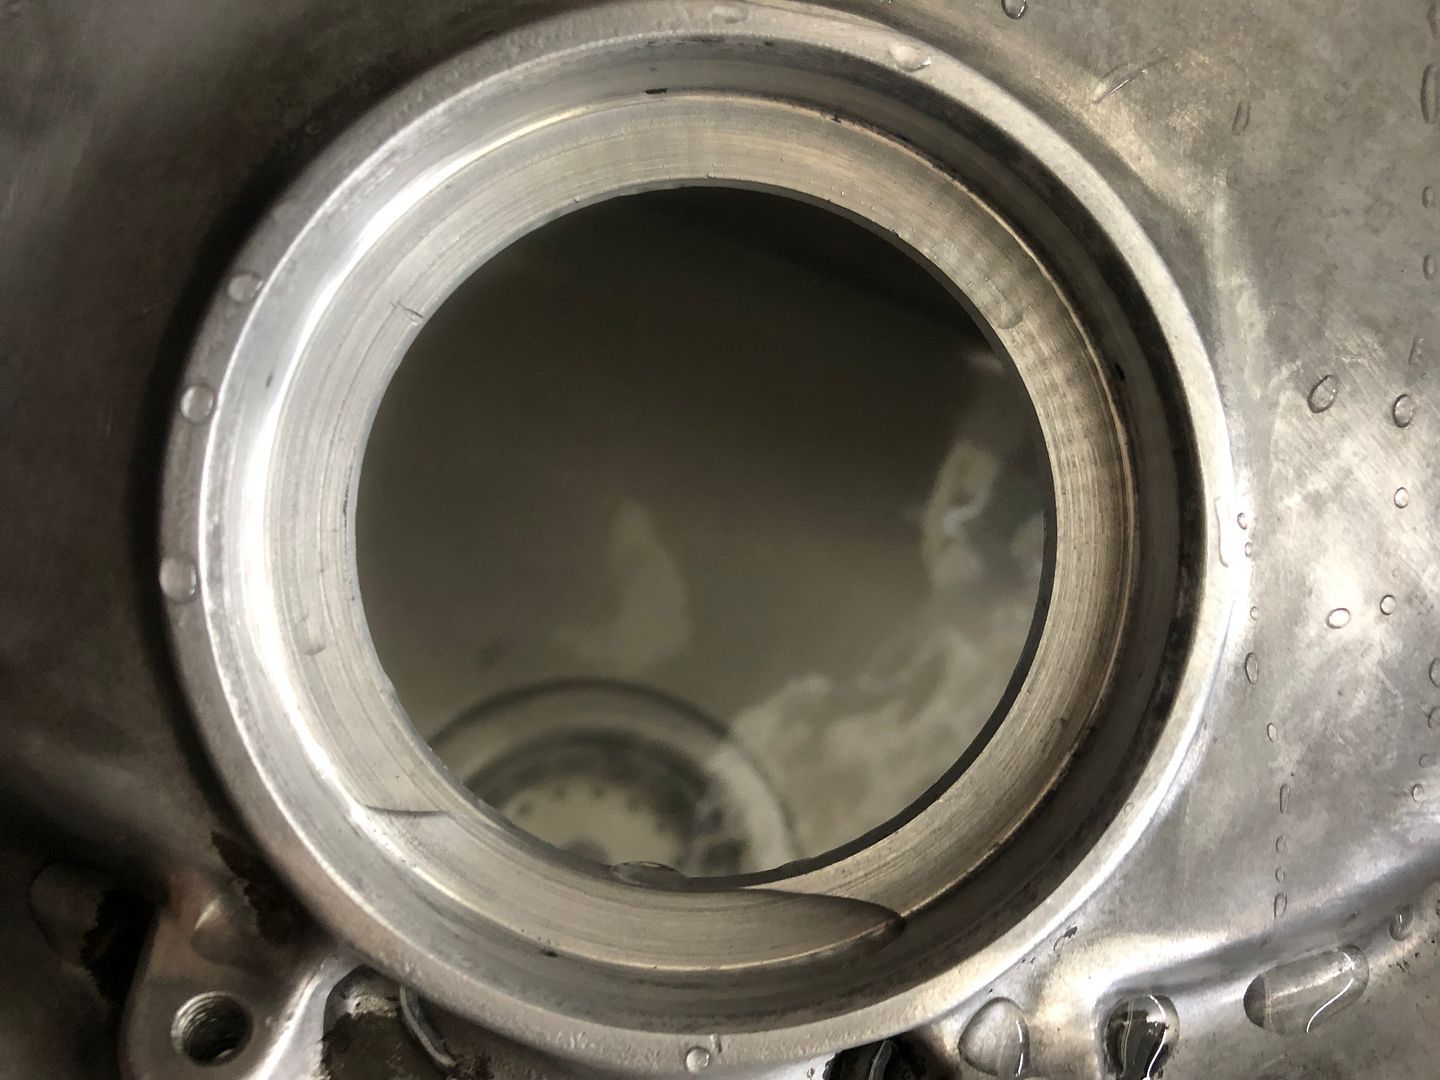
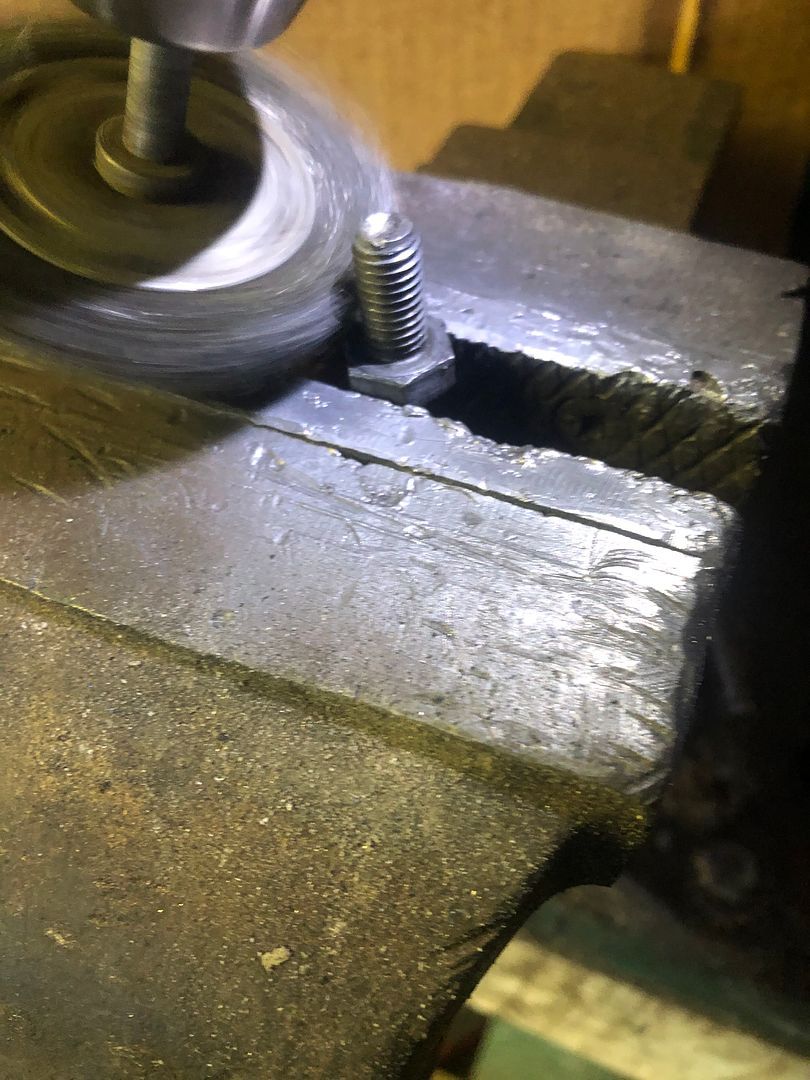
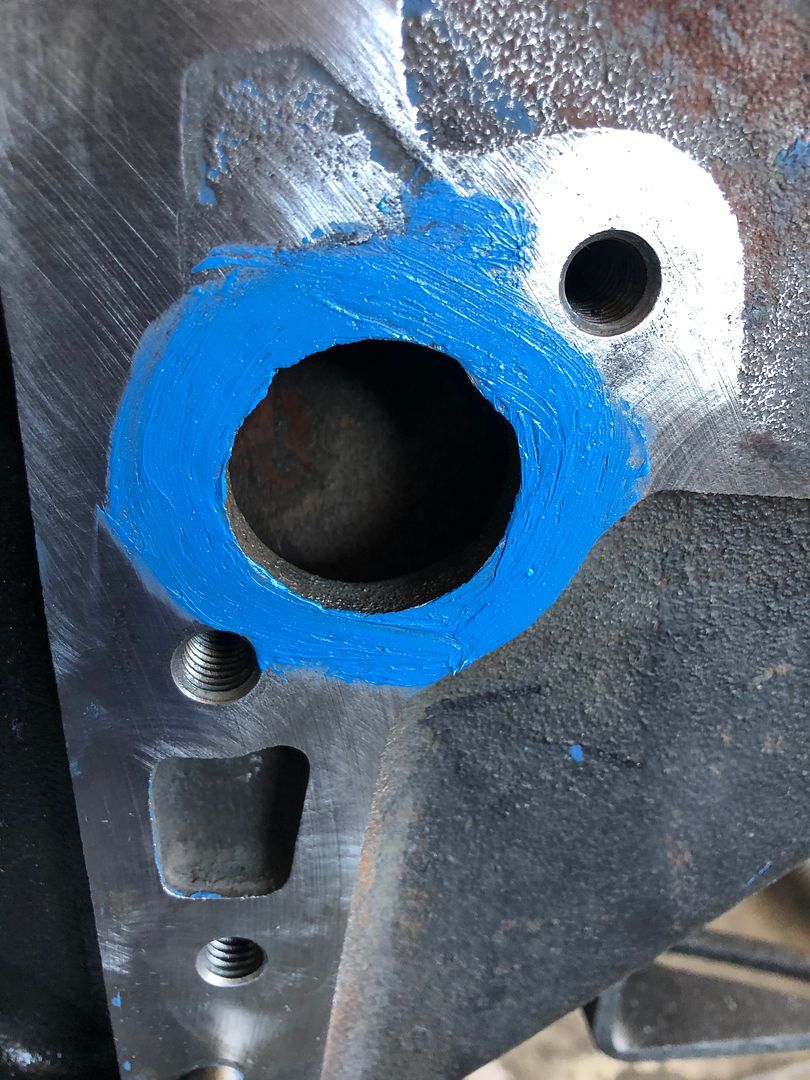
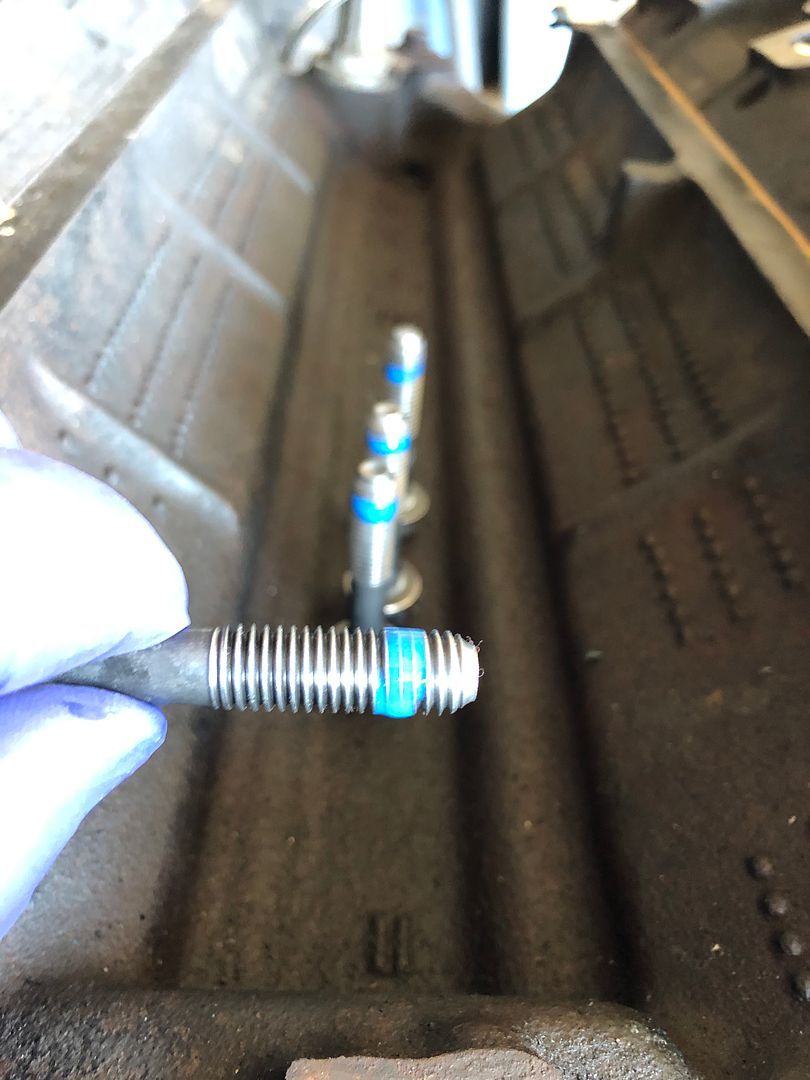
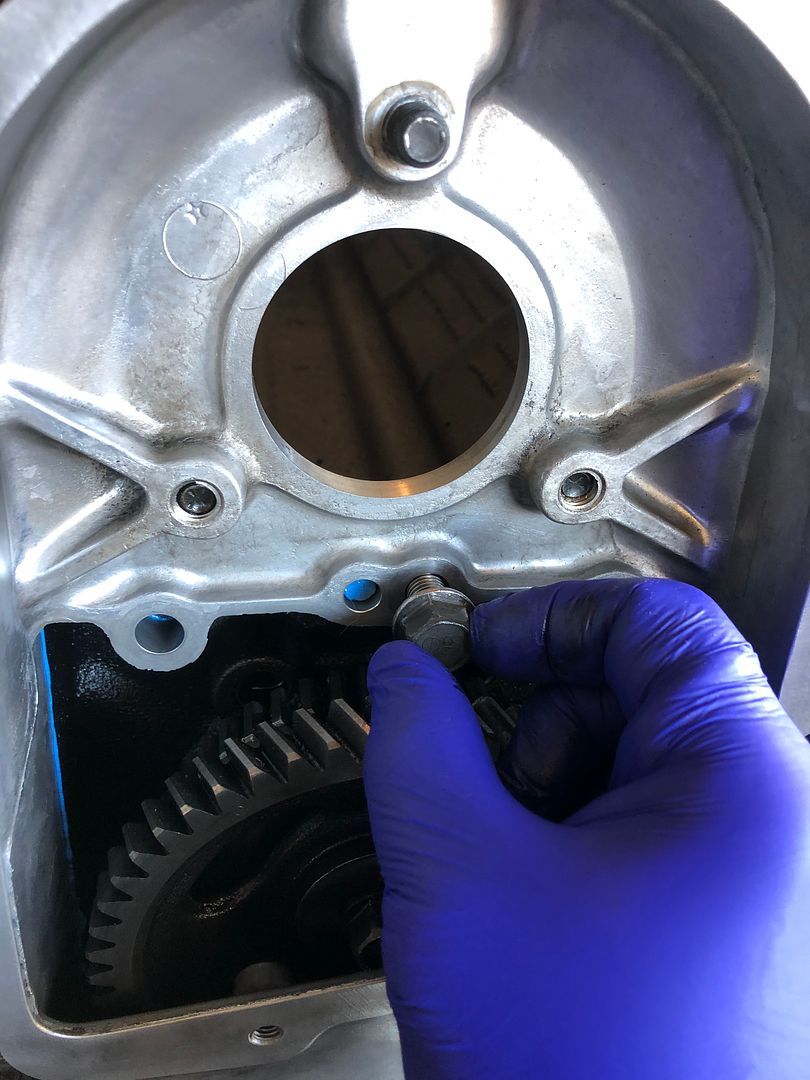
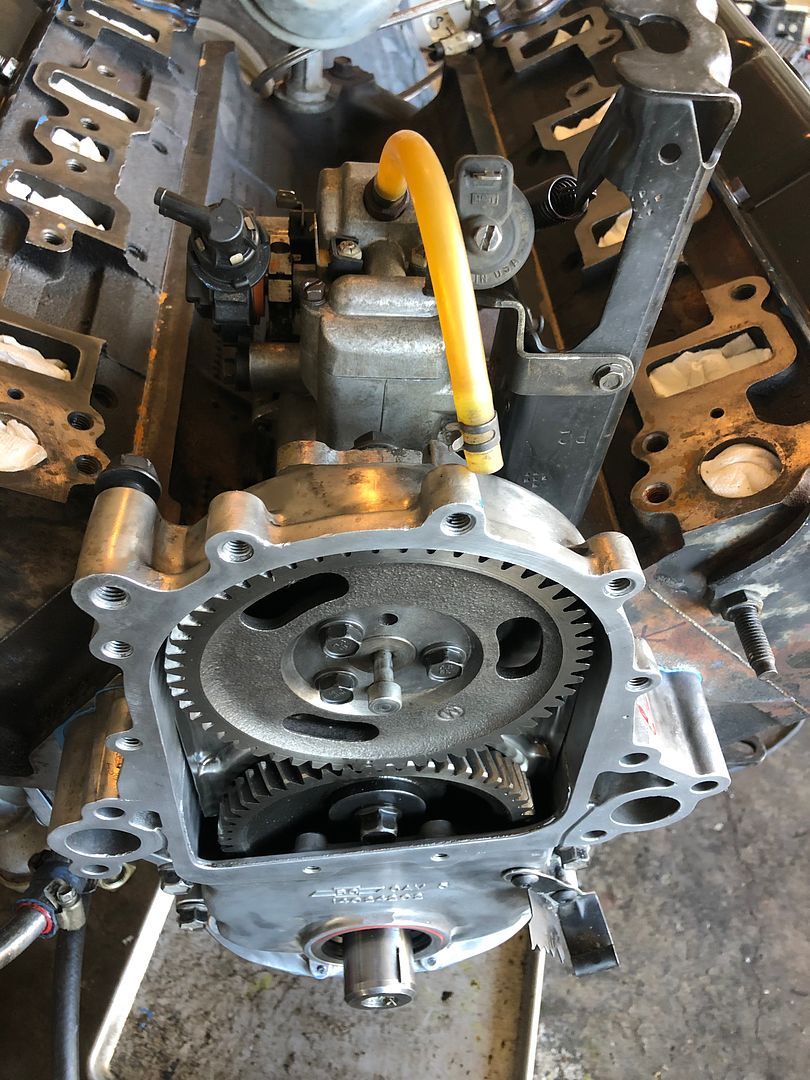
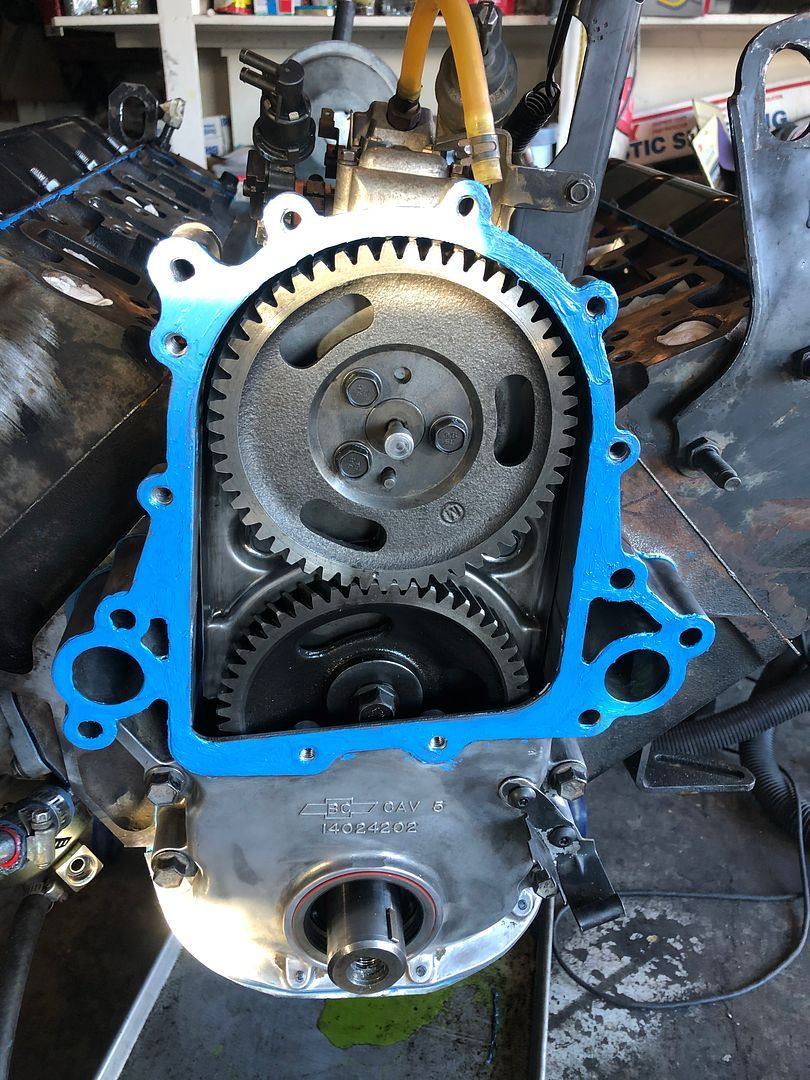
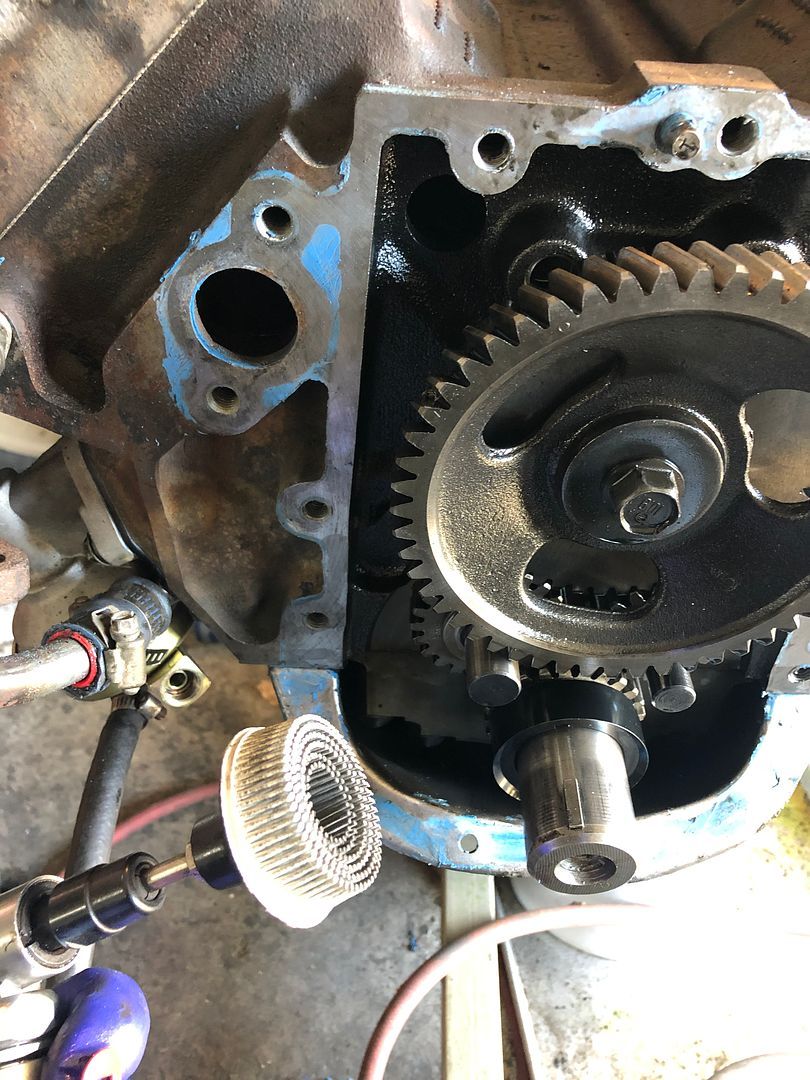
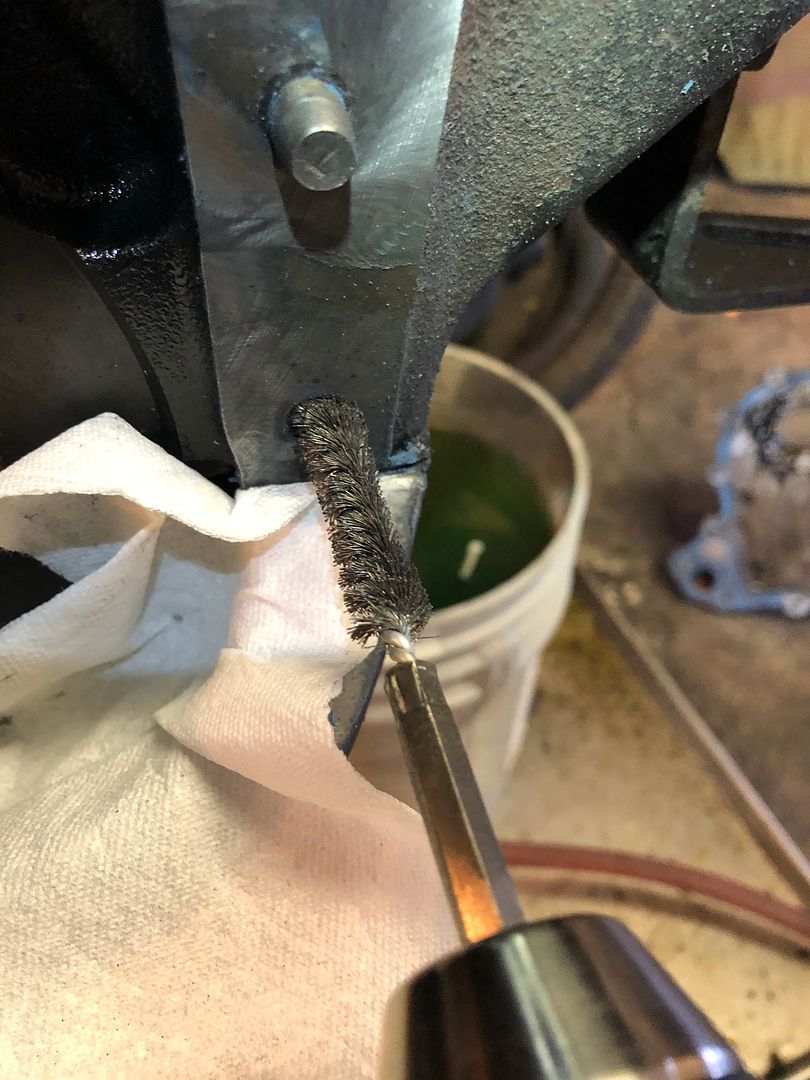
    With the small wire wheel I cleaned every hole until all material was out of the threads. Taking note of which holes went all the way threw to the coolant ports.


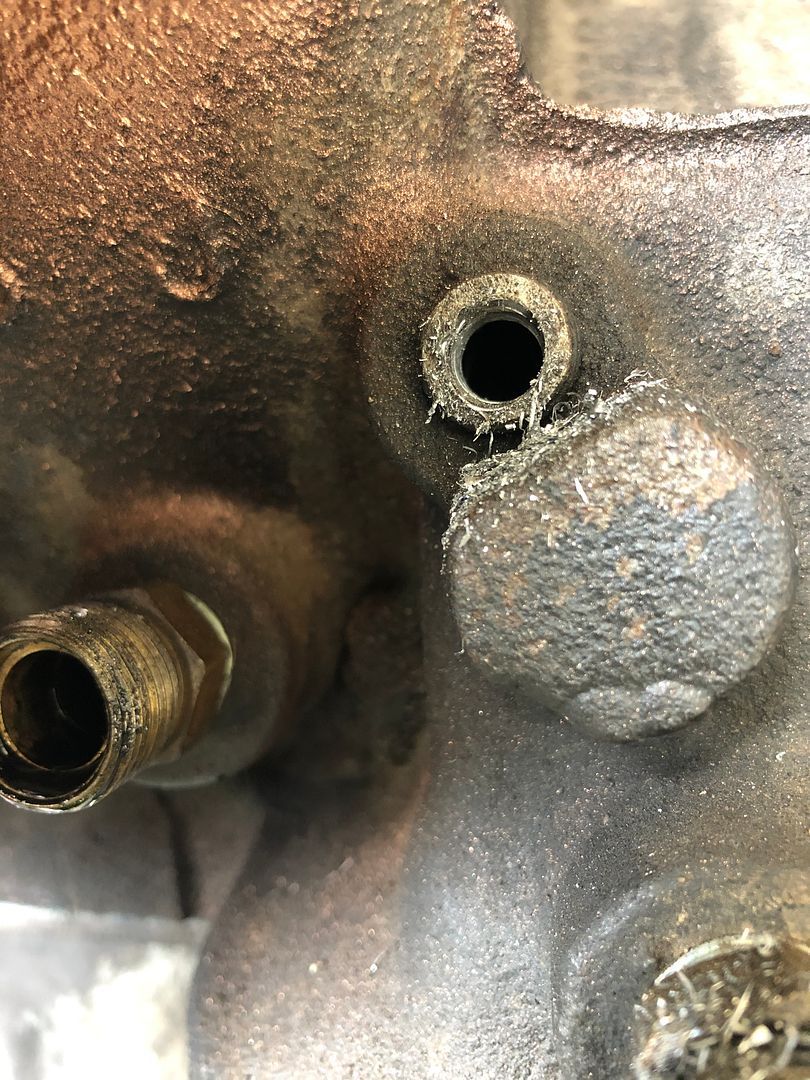
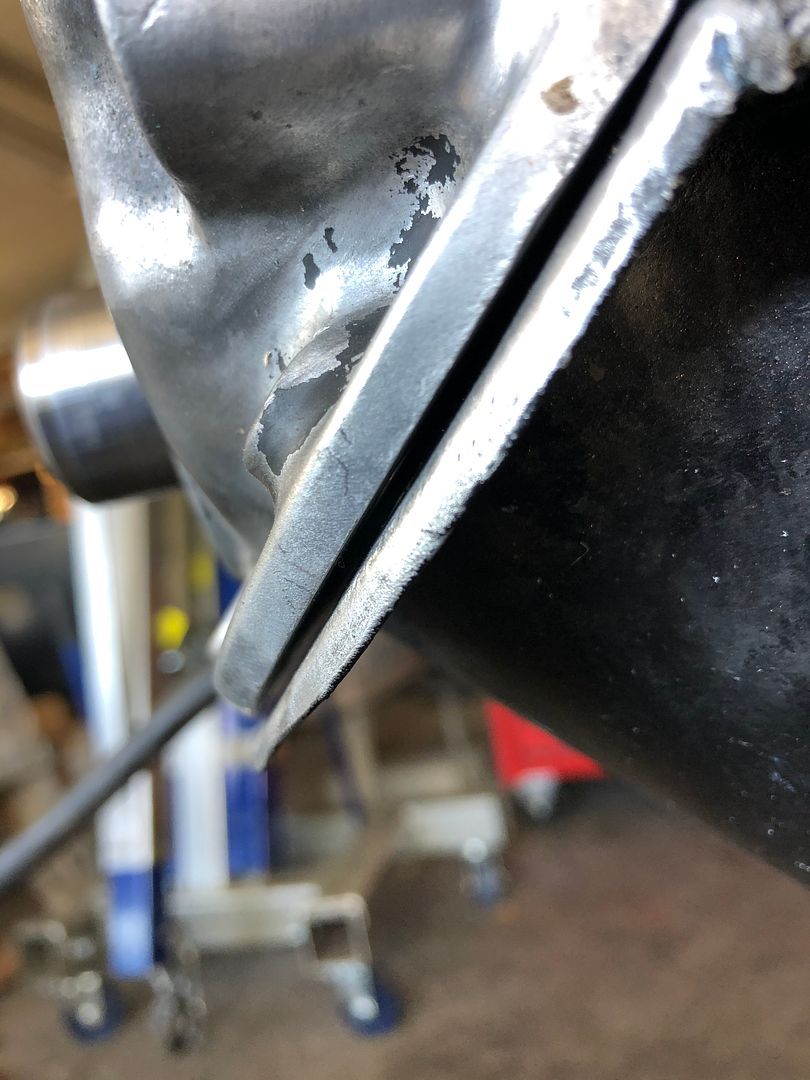
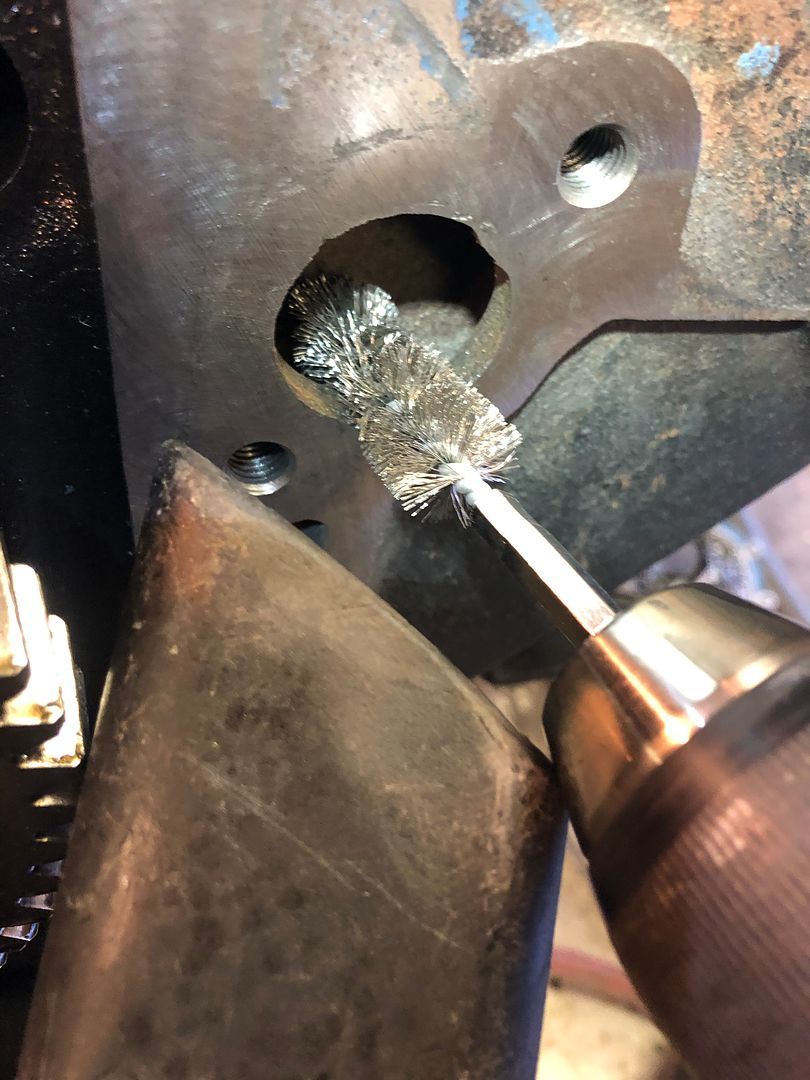
    Using the shop vac and bigger wire brush, I then cleaned the excessive gasket material from the coolant holes.


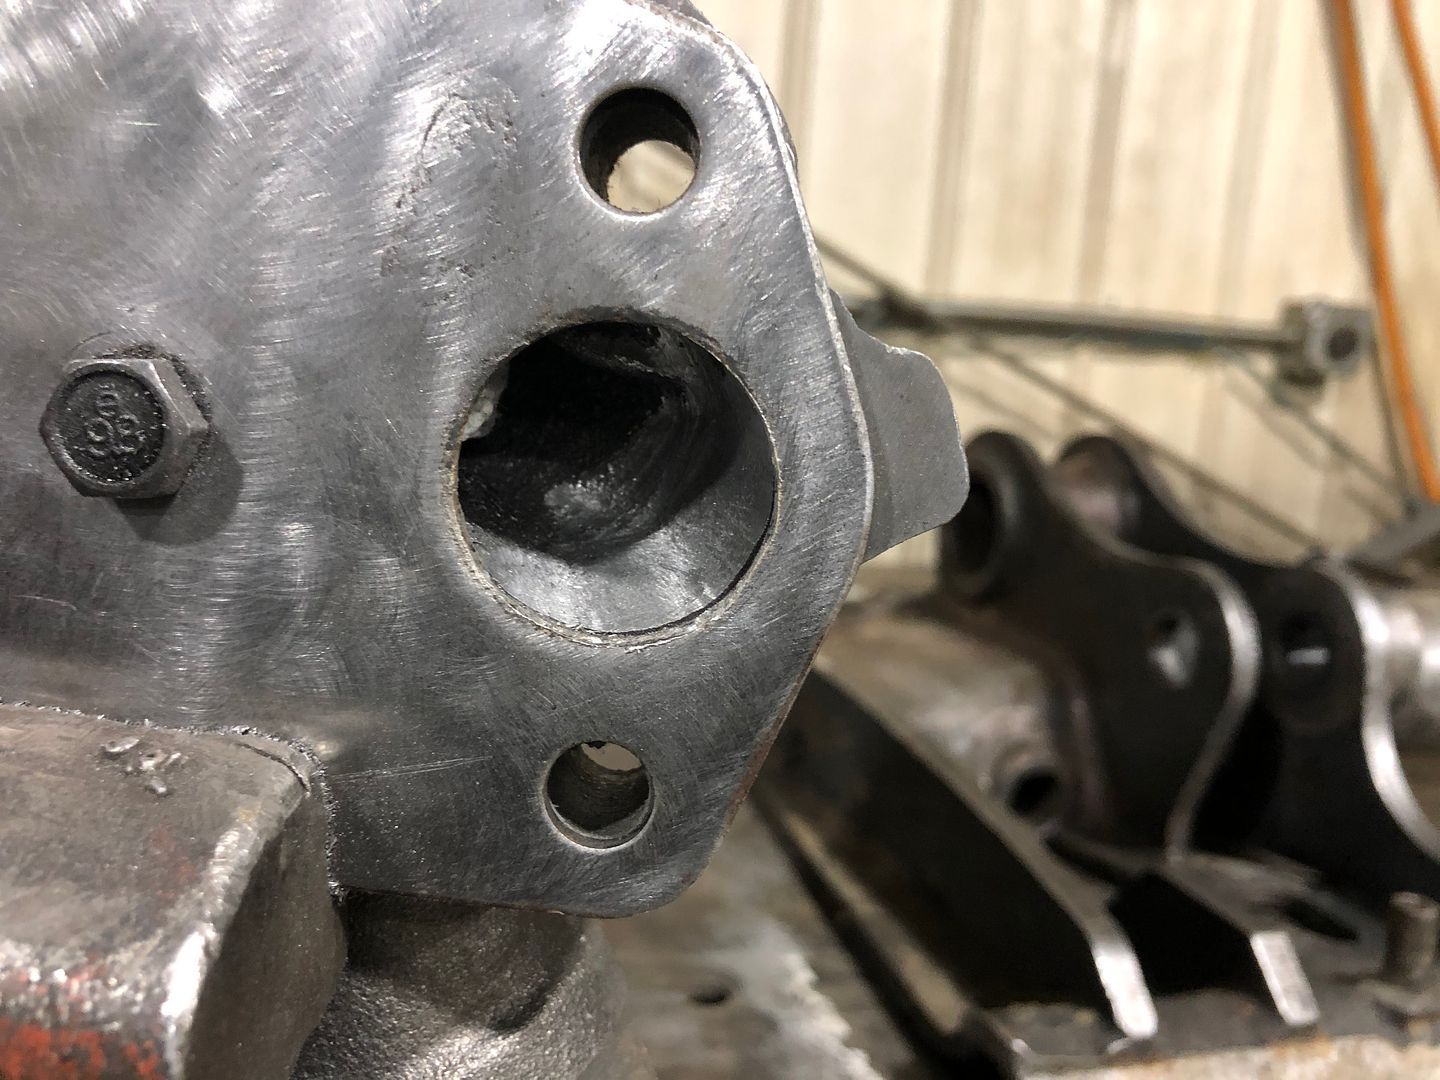
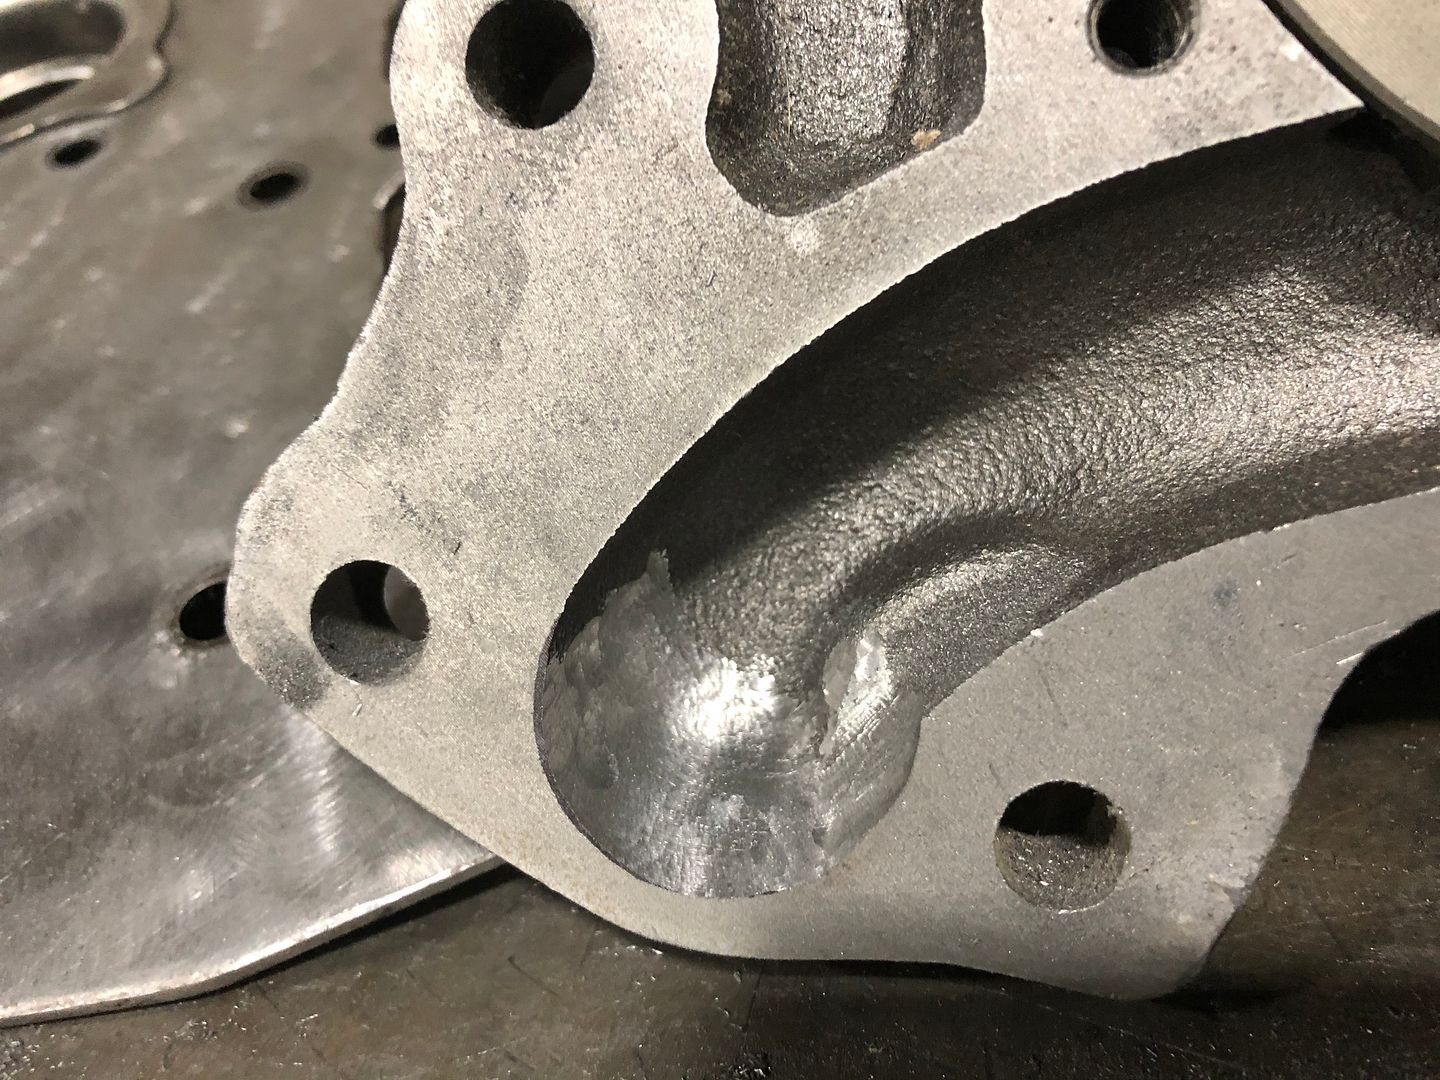
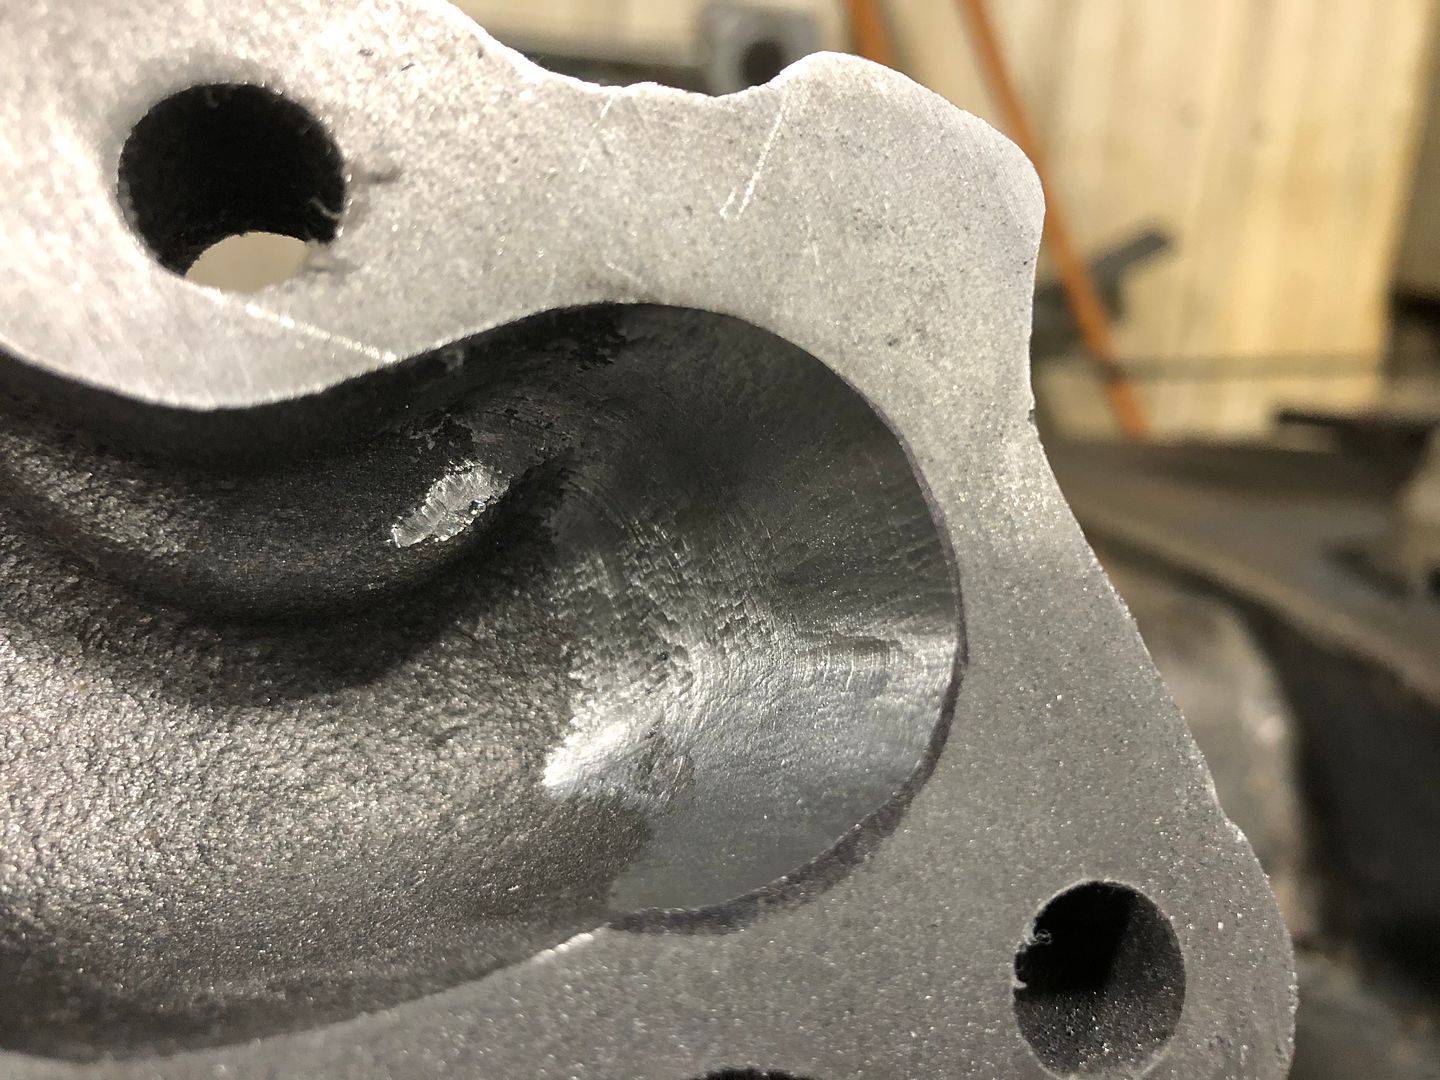
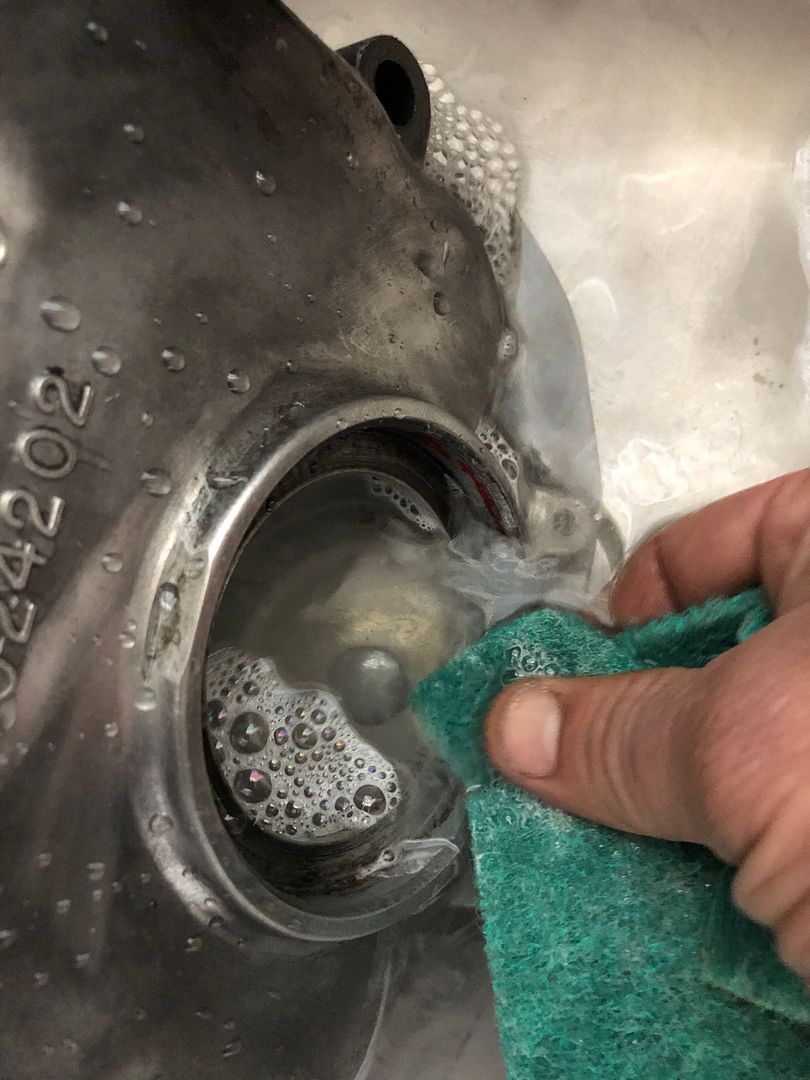
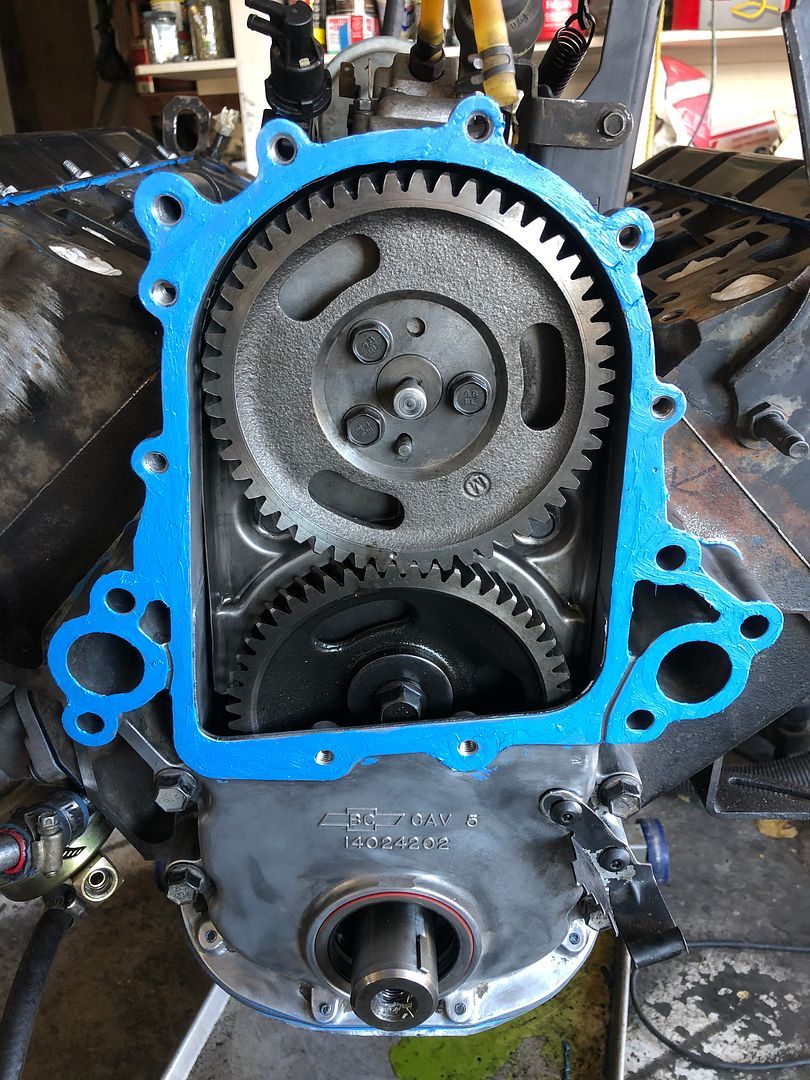
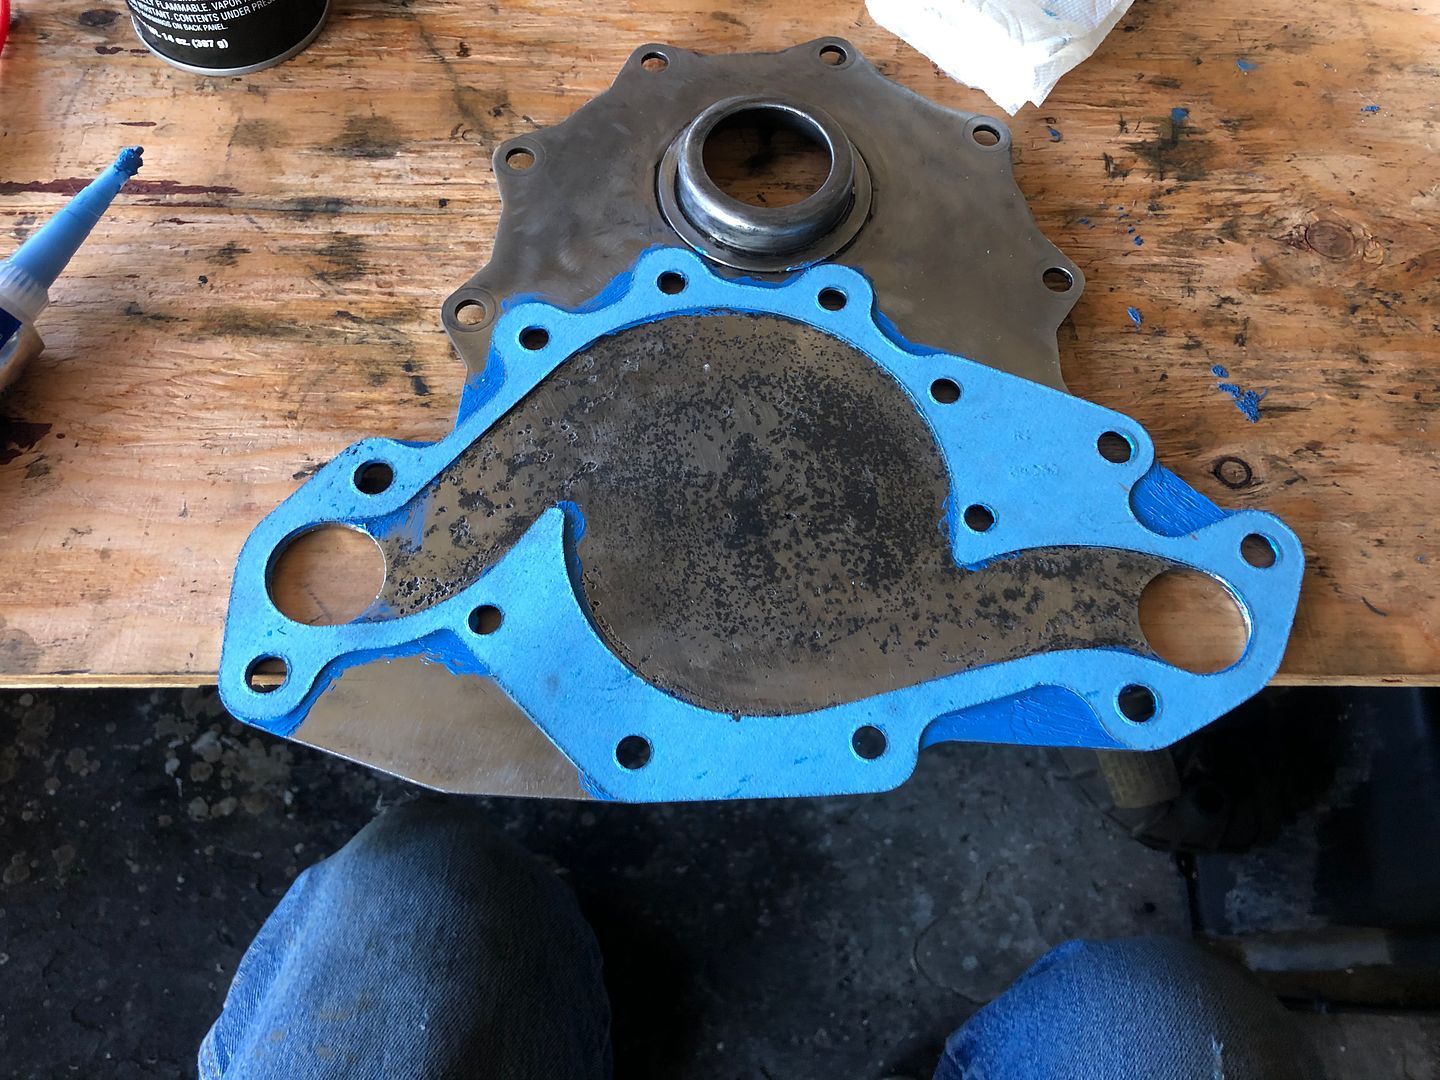
    Then wiped away all oils, dirt and material with a paper towel soaked in brake cleaner.


  2. #102
    Join Date
    Jul 2020
    Location
    Montana
    Posts
    392

    Default

    Taking note of the bent oil pan so I will use extra rtv in that area. I could bend it back but the vibrations might unseat some areas of oil pan and cause more leaks.


    Making sure the crank key is not damaged.


    Checking the fluidamper adapter.


    Checking the gear drive to make sure the gears are still aligned.


    Checked the front main seal. Looking great as it should with only 30,000 original miles.


    After posting this, I will spend more time cleaning the loose material off and any that fell into the oil pan. But here is a current picture of the cleaning job.


    Last summer when I had the timing cover off, there was pitting on the block side. The intent of the roloc disk is to smooth out some of that pitting without sacrificing too much material. And that is what it did! The rtv will fill in the rest. Originally, GM never put a gasket between the timing cover and the block. Let’s keep it that way!


  3. #103
    Join Date
    Jul 2020
    Location
    Montana
    Posts
    392

    Default

    Today being my Sunday, I went to work. Lol! But for good reason! The timing plate cover needed to be cleaned and the timing plate bolts needed refurbished! They were bad!


    So for the timing plate, I did the usual clean. Scraped the gasket off with the razor blade, used the roloc disk and then dunked it in the tank.


    Still some material in the bolt holes, ports and valley.


    Then I dunked all the bolts in the tank to soften up the thread sealant and then wire wheeled each one. Afterward I dunked them back in the tank.


    Went back to the garage and wire wheeled the rest of the gunk from the timing plate. There were no small ones at the shop but at home I have a lot of wheels of many sizes.


  4. #104
    Join Date
    Jul 2020
    Location
    Montana
    Posts
    392

    Default

    Next I wanted to tackle that dreadful oil plug above where the oil cooler lines go.

    I tried everything! I torched it, PB blasted it, WD-40ed it, tapped it with the hammer, broke a few 1/4 adapters, let it soak with Wd and pb over a week... Still could not get it off...

    So I said screw it! I drilled a hole all the way threw and hammered in my #5 bolt extractor. It worked!


    With my smaller magnet, I probed the oil port and got all the shaving out. I also cleaned up all shavings from the block and oil cooler line nipples.


  5. #105
    Join Date
    Jul 2020
    Location
    Montana
    Posts
    392

    Default

    Looking at the instructions, I then cleaned the old flanges up with the wire wheel and brake cleaner. Then added some Optimum Black on the threads. I installed the flanges and the steel braided oil line.


    Going back to the timing cover, I removed the timing cover crank seal. There was a small chunk of the rubber seal cut. The parts store had zero in stock. Poop!


    Remembering what More Power said on the diesel page, I did a mock up of the exhaust cross over pipe to see how close the mechanical pump is.


    It is pretty darn close! Imagining that area getting to 1000 degrees... Hmmm... Have not made up my mind about that yet. I really like the mechanical pump.

  6. #106
    Join Date
    Jul 2020
    Location
    Montana
    Posts
    392

    Default

    Waiting on parts... I have the water pump, aluminum crank pulley and now the timing plate crank seal on its way.

    It is getting very cold up here in Montana. Over the next couple of days it will be dropping down to -11 degrees at least. Not really excited about that!

    The rest of the day I am going to put the hood back on the blazer and the tires. Clean up the garage too.

    I found a rebuild kit for the Sidewinder turbo. I am debating if I should or not.

  7. #107
    Join Date
    Jan 2001
    Location
    New Hampshire - Live Free or Die
    Posts
    6,058

    Default

    I'm guessing that these two channels have a purpose and if they are filled with RTV, as it looks like they may have been before, they cannot perform their function...
    Attached Images Attached Images
    The Constitution needs to be re-read, not re-written!

    If you can't handle Dr. Seuss, how will you handle real life?

    Current oil burners: MB GLK250 BlueTEC, John Deere X758
    New ride: MB GLS450 - most stately
    Gone but not forgotten: '87 F350 7.3, '93 C2500 6.5, '95 K2500 6.5, '06 K2500HD 6.6, '90 MB 350SDL, Kubota 7510

  8. #108
    Join Date
    Jul 2020
    Location
    Montana
    Posts
    392

    Default

    Quote Originally Posted by JohnC View Post
    I'm guessing that these two channels have a purpose and if they are filled with RTV, as it looks like they may have been before, they cannot perform their function...
    Thanks for reminding me!

  9. #109
    Join Date
    Jul 2020
    Location
    Montana
    Posts
    392

    Default

    For this experimental water pump upgrade, I would first like to talk about the PPE!

    Must haves!

    Leather Gloves (Prevents metal slivers in hands)
    Air tight goggles (Prevents slivers going in eyes)
    Respirator (Prevents breathing in metal particles and toxic gas from Carbide)
    Cheap painters suit (Prevents metal shavings getting on clothes and head)


    Now let’s talk about the pump! It is a 251-603 #19168609 For a 2000+ Gm. I call it experimental because there is less then a handful that have done this modification and only a few sites with info about it. Also, I have never done porting before and not sure if is going to work. So for me it’s totally experimental.

    The source of information I gathered in regards to this upgrade is found here in these two sites:

    https://www.65turbogarage.com/stop-65-overheating.html

    https://www.dieselplace.com/threads/...p-porn.561466/


    So I got lucky on eBay. These pumps usually go for $200+ but I found an old new stock one for only $100. It’s new but been sitting on a shelf for many many years. AKA old new stock! Lol! The impeller is about 4 1/4” and it has 6 blades. Instead of a bolt on pulley, it has a pressed pulley. From what I read, it pushes out 130 gpm just like the 97+ but it has a 50/50 balance unlike the 97+. Assumed and sounded good to me! Let’s try it!


    The end of the cast seems a lot smoother where the big coolant/lower radiator hose connects. This smoothness will help prevent leaks compared to the Oem 80’s pump cast.


  10. #110
    Join Date
    Jul 2020
    Location
    Montana
    Posts
    392

    Default

    The first thing I did was stuff the pump with paper towels and bolted the pump plate on without gasket or rtv. This prevents shavings going into the pumps seals.


    With the pump plate on, I used a black sharpie and marked the areas that needed to be ported.


    Heres pictures with the plate off...


    Next I went to Harbor Freight and picked up some carbides and a straight Die Grinder. For this job, I used this carbide.


    With the plate still on, I ported the water pump.


    Picture with plate off after porting...


  11. #111
    Join Date
    Jul 2020
    Location
    Montana
    Posts
    392

    Default

    A few more pictures because I am a picture whore!!


    All cleaned up! Not bad for my first port job ehh? Yes I will be using a gasket and rtv between the pump and pump plate but no gasket for the timing cover.


    And in this picture you will see the gap between the pump and the pump plate. The plate is bent a little. Because of this reason is why you would want to do the pump, pump plate and timing cover at the same time so there is zero possibility of leaks with the rtv curing.

    Last edited by 2INSANE; 10-27-2020 at 19:31.

  12. #112
    Join Date
    Jul 2020
    Location
    Montana
    Posts
    392

    Default

    After work I picked up the timing cover crank seal and put it in the freezer when I got back to the house.


    Then I washed the timing cover in soap and water. Mainly focusing on the seal area.


    After it was cleaned, I let it sit in hot water for 10 minutes.


    Using the Wife’s favorite towel as a shock absorber on the kitchen table. Then I got a piece of wood from the scrap pile and pounded the seal in. Easy as pie!


    Last edited by 2INSANE; 10-28-2020 at 16:26.

  13. #113
    Join Date
    Jul 2020
    Location
    Montana
    Posts
    392

    Default

    You know when you are a pack rat when you have too many water pump gaskets... Lol!

    What do you guys think? Felpro or Mahle?


  14. #114
    Join Date
    Jul 2020
    Location
    Montana
    Posts
    392

    Default

    Truth be told! I only spend 15-60 minutes a day working on the motor. That is why it is taking so long with the exception of waiting on parts.

    I ordered a 9 blade Duramax fan and Hayden Fan Clutch.

    Getting ready for my first day off for the week tomorrow, I wire brushed the pumps bolts and put the Ultra Blue in the house to keep it warm. The goal tomorrow is to get the timing plate, water pump plate, water pump, fluidamper, aluminum crank pulley and dual thermostat cross over installed.


  15. #115
    Join Date
    Jan 2001
    Location
    New Hampshire - Live Free or Die
    Posts
    6,058

    Default

    Quote Originally Posted by 2INSANE View Post
    I'm pretty sure if I tried to do that the bolt would disappear into an alternate universe....
    The Constitution needs to be re-read, not re-written!

    If you can't handle Dr. Seuss, how will you handle real life?

    Current oil burners: MB GLK250 BlueTEC, John Deere X758
    New ride: MB GLS450 - most stately
    Gone but not forgotten: '87 F350 7.3, '93 C2500 6.5, '95 K2500 6.5, '06 K2500HD 6.6, '90 MB 350SDL, Kubota 7510

  16. #116
    Join Date
    Apr 2001
    Location
    CA
    Posts
    13,574

    Default

    Quote Originally Posted by JohnC View Post
    I'm pretty sure if I tried to do that the bolt would disappear into an alternate universe....
    Yeah, because that's exactly what happens.
    1985 Blazer 6.2
    2001 GMC 2500HD D/A
    dmaxmaverick@thedieselpage.com

  17. #117
    Join Date
    Jan 2001
    Location
    Knoxville,Tennessee
    Posts
    2,643

    Default

    15 to 60 minutes per day? An how much time of that is setting up the camera?

    I Enjoy your posts!
    "The Constitution is not an instrument for the government to restrain the people, it is an instrument for the people to restrain the government."
    -Patrick Henry


    A5150nut
    2006 K3500 D/A
    94 6.5 4x4 5spd Sold

  18. #118
    Join Date
    Jul 2020
    Location
    Montana
    Posts
    392

    Default

    Quote Originally Posted by JohnC View Post
    I'm pretty sure if I tried to do that the bolt would disappear into an alternate universe....
    The oil pan bolts tend to fly away with wings sometimes. Lol!

    Quote Originally Posted by DmaxMaverick View Post
    Yeah, because that's exactly what happens.
    Been pretty lucky with the Vice so far!

    Quote Originally Posted by a5150nut View Post
    15 to 60 minutes per day? An how much time of that is setting up the camera?

    I Enjoy your posts!
    Yep that’s right! Between wrenching and driving at work, keeping the family happy, new house work, etc not much time is spent actually working on it.

    I would say 20% working on motor, 50% cleaning parts and 30% camera and writing.

    I am glad you enjoy the thread! I wish I could have found a thread with all this info years ago. Happy it helps!

  19. #119
    Join Date
    Jul 2020
    Location
    Montana
    Posts
    392

    Default

    Test fitting the timing plate to the block. You can see a big gap between the oil pan and timing cover. I will need to put a gasket in that location.


    Also there are only 4 bolts that require some rtv on the ends of them. Here is picture of 2 locations on timing cover. I put arrows on the block and timing cover.


    A professional skill learned in kindergarten... Finger painting! I sure love to finger paint RTV! Especially when there is sooo much pitting on the block and plates.


    I did a basic bead of rtv on the timing cover and extra on the bottom. Extra on the corners and added the gasket. Rubbed in the rtv with my fingers for the corners.


  20. #120
    Join Date
    Jul 2020
    Location
    Montana
    Posts
    392

    Default

    Using thread lock on all the bolts except the 4 that need RTV.


    After the timing plate is installed, I decided to put in the injection pump.


    Don’t forget the inner plate!


    Injection pump is now on! So easy!


    Now let’s do some more finger painting!


    Add the gasket...


    Finger paint the pump and plate.


    Felpro added...


    And since the other side of the gasket is lonely, let’s add an rtv friend...


Similar Threads

  1. 85 6.2 w/banks turbo to 94 6.5 turbo
    By fatboy6949 in forum 6.2L Diesel - Tech Support - Troubleshooting - Performance
    Replies: 1
    Last Post: 01-23-2014, 23:58
  2. Will a factory 6.5 turbo system work on an 80's 6.2?
    By More Power in forum 6.2L/6.5L Diesel - Upgrades & Service Questions Answered
    Replies: 18
    Last Post: 11-12-2013, 12:10
  3. Banks kit on high milage 6.2?
    By darkroad in forum 6.2L Diesel - Tech Support - Troubleshooting - Performance
    Replies: 2
    Last Post: 06-01-2006, 01:08
  4. How to turn down Injection Pump off engine, & TURBO ?'s
    By john8662 in forum 6.2L Diesel - Tech Support - Troubleshooting - Performance
    Replies: 3
    Last Post: 11-13-2003, 22:10

Posting Permissions

  • You may not post new threads
  • You may not post replies
  • You may not post attachments
  • You may not edit your posts
  •